How to digitize old audio cassettes and reels
A practical guide to rescuing the voices on your family's old audio cassettes and reels before magnetic tape degradation takes its toll.
Dan Warner · 1 October 2026 · 6 min read

To digitize old audio cassettes and reel tapes, connect the line-out ports of a working playback deck to an external USB audio interface plugged into your computer. Open an audio recording program, press record, and play the tape straight through in real time. Once finished, save the capture as a high-quality archival audio file.
The hidden clock on magnetic tape
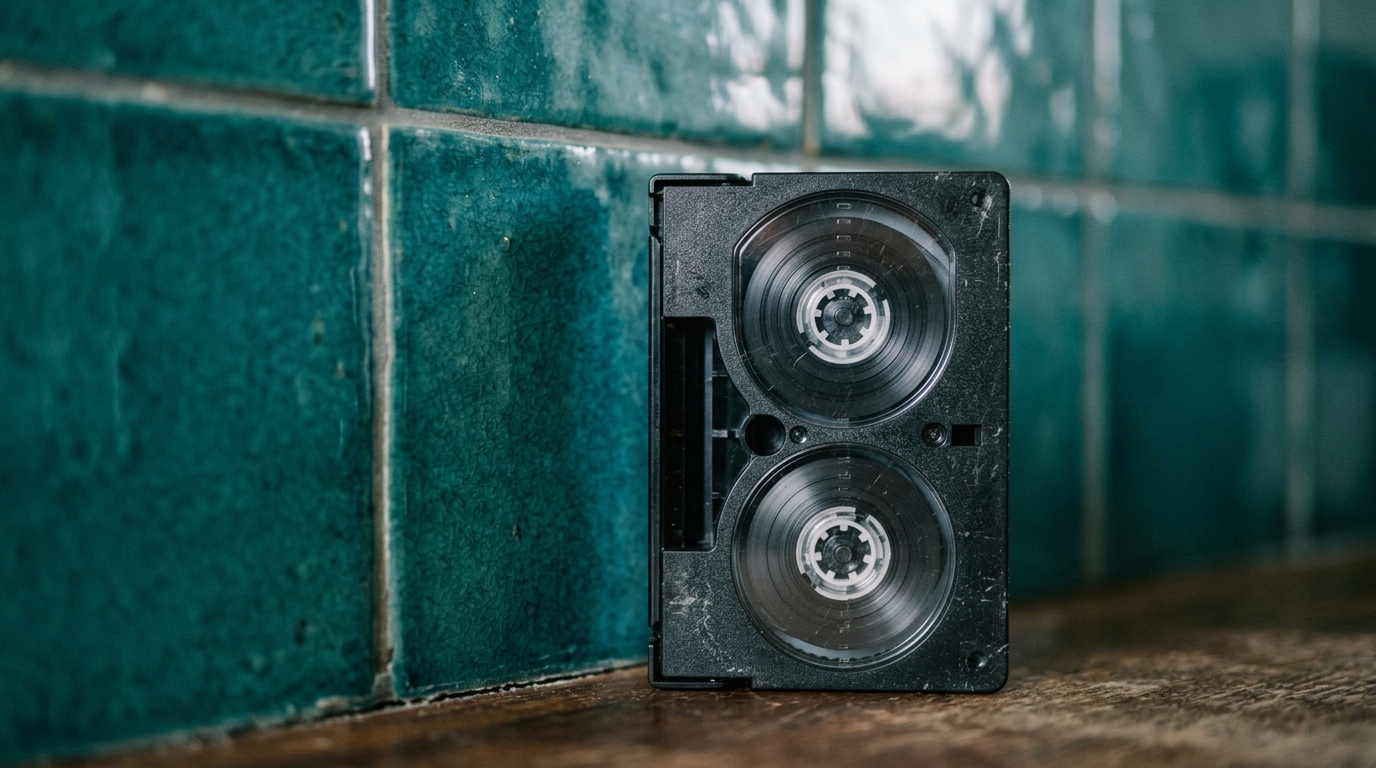
Magnetic tape does not last forever. An audio cassette or reel consists of a thin plastic film coated with magnetic particles, bound together by a chemical glue. Over time, that glue absorbs moisture from room humidity and begins to break down. When tape degrades, the magnetic coating can flake off or stick to itself on the spool. Every run through a dirty machine risks losing spoken memories forever.
Digitizing these tapes preserves the sound of a voice: a grandfather telling jokes across a dinner table, a child singing in the bath, or a rehearsal recorded forty years ago. Once the audio exists as a clean digital file, you can copy it, share it with relatives, and preserve it safely.
Gathering the right playback equipment
The quality of your digital file depends entirely on the player reading the tape. Avoid cheap plastic USB cassette players. Many of them have flimsy motors that fluctuate in speed, causing voices to waver. Their internal electronics also tend to introduce harsh electrical hums.
For standard cassettes, look for a dedicated stereo deck from an audio brand. You might find one in a family attic, at a thrift store, or through a local repair technician. A vintage deck with dual capstans or clean heads will deliver far better sound.
For reel-to-reel tapes, matching the player to the tape is essential. Reel tapes were recorded at different speeds, most commonly 3.75 inches per second or 7.5 inches per second. They also used different track layouts, such as two-track mono or four-track stereo. Make sure your deck supports the reel diameter and recording speed of your tapes.
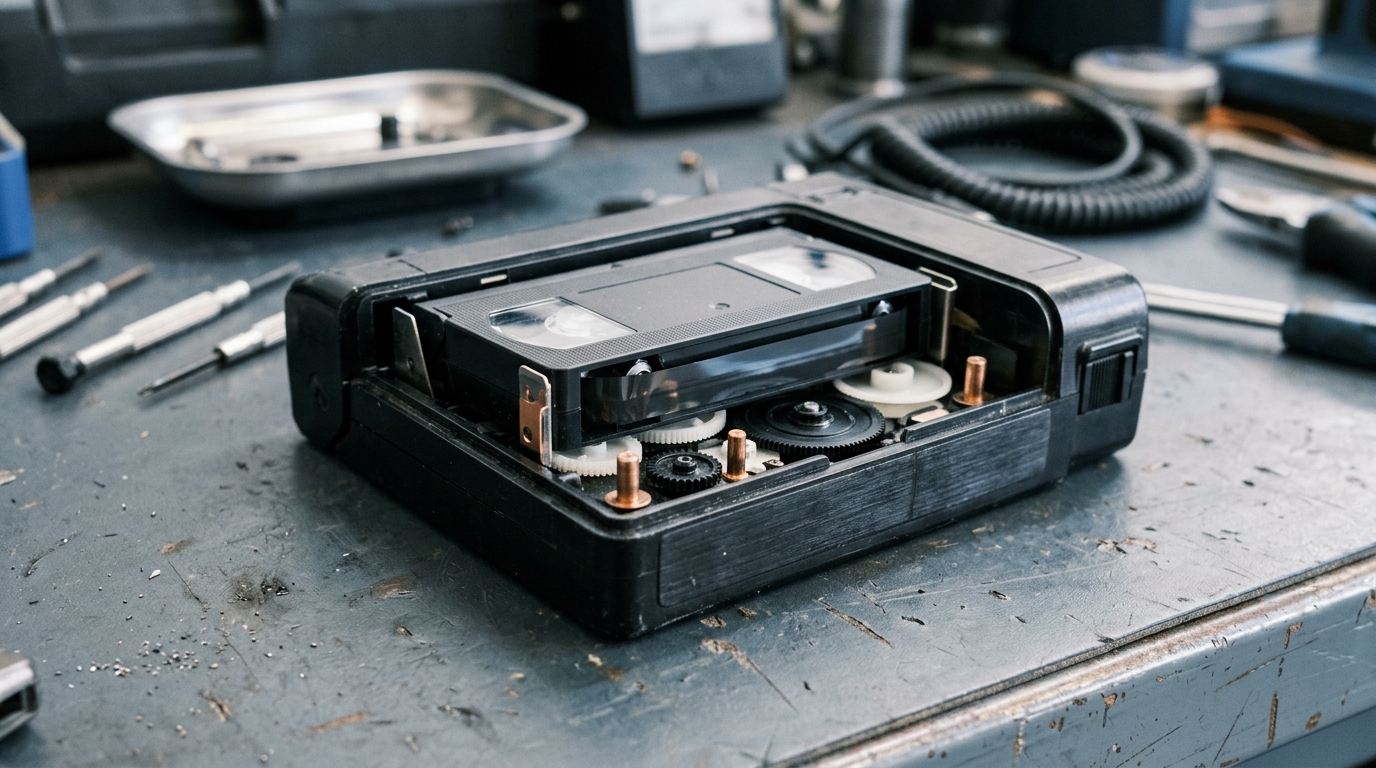
Before loading any tape, clean the machine. Dip a cotton swab in isopropyl alcohol and wipe down the metal playback heads, metal capstan shafts, and tape guides. Use a rubber roller cleaner or plain water on rubber pinch rollers, because alcohol can dry out old rubber. Let everything dry completely.

Preparing old tapes before recording
Tapes that have stayed in storage for decades are rarely spooled evenly. If you hit play immediately, uneven tension can stretch the tape or cause the pitch to wobble.
- Check the tape through the cassette window. If you see white powdery mildew or notice a sour, vinegar smell, stop. Mildew needs professional cleaning before playback so it does not ruin your player or tear the ribbon.
- Run a full tension cycle. Place the cassette in your deck, fast-forward completely to the end, and rewind it back to the start. This packs the tape evenly across the spool and smooths out stiff layers.
- Make sure the cassette shell moves easily. Gently turn one of the plastic spools with a pencil. If it feels stuck, tap the flat side of the cassette against your palm to loosen the tape pack.
Connecting your player to a computer
Avoid using the headphone output on the front of your tape deck. Headphone jacks add unnecessary amplifier noise and distortion. Look at the back panel for ports labeled Line Out or Play. These are standard RCA jacks, usually colored white for the left channel and red for the right channel.
Connect an RCA cable to a dedicated USB audio interface. This small piece of hardware converts analog electrical signals into clean digital data without picking up the internal electrical noise of your computer's fan or processor. Plug the interface into your computer with a standard USB cable.
Setting up your recording software
You do not need expensive production software to record spoken audio. Several reliable programs are available to download at no charge.
- Select your USB interface as the main audio input inside the software preferences.
- Set your recording quality to a 44.1 kHz sample rate and 16-bit depth for standard cassette voice recordings. If you want a master archival copy, select 48 kHz and 24-bit.
- Test your levels before capturing. Find the loudest section of the tape and press play while watching the software meters. Adjust the gain knob on your interface so the signal peaks safely between -12 dB and -6 dB. If the meter hits 0 dB and turns red, the audio will clip and crackle permanently.
Capturing the audio in real time
There is no way to speed up this process. A sixty-minute tape takes sixty minutes to record. Press record in your software first, then press play on your tape machine. Recording a few seconds of silence at the start guarantees you never clip the first word.
Listen with wired headphones as the tape plays. If you hear muffled sound, the tape may be slipping or the playback head may need alignment. When the side ends, press stop on your software and save the project immediately.
Cleaning up the sound
Once the audio is safely saved on your computer, you can make modest adjustments to improve clarity. For broader tips on cleaning up background issues, see our guide on how to restore old audio recordings.
Keep these limits in mind: * Tape hiss is normal. You can apply a gentle noise reduction filter, but keep the effect subtle. Heavy noise reduction makes human voices sound hollow and metallic. * Trim dead space. Cut off the long silent minutes before the voices start and after the tape runs out. * Balance the volume. Use a normalize tool to raise quiet conversations to a comfortable, clear listening level.
Saving and sharing your files
Export two separate versions of each tape side. First, save an uncompressed WAV file. This serves as your permanent preservation copy. Store it across separate locations following safe habits, as explained in our guide to the 3-2-1 backup rule for family photos and home media. Second, export an MP3 file. The smaller size makes it easy to email to cousins or listen to on a phone.
Name files with clear details, including names, dates, and side letters. If you also have boxes of family prints and slides to digitize alongside your audio, look into how to write family history or how to build a family memory book.
If you are gathering these voices for a milestone event or a family tribute for a parent, you can pair those family stories with old pictures. Linof helps families bring those moments together by turning photos and videos into a short film with music, an opening title, and closing words, and the first animation is free.
Rescuing these audio tapes takes patience and an afternoon by the tape deck. Once the work is done, those voices can be heard clearly by generations who never had the chance to meet them in person.
Questions
Can I use a portable USB cassette converter from an online shop?
While those inexpensive portable USB cassette players are easy to plug in, they often suffer from poor build quality. Their small plastic motors cause pitch flutter, and their internal electronics tend to introduce a loud buzzing hum into the file. Using a vintage component stereo deck through a separate audio interface yields clearer, cleaner sound.
What should I do if an old audio cassette tape snaps during playback?
Do not throw the tape away, because snapped cassette ribbons are usually simple to mend. You can open a screw-type cassette shell or use a splicing block with specialized audio sensing tape to join the clean ends back together. Never use ordinary household tape, because standard glue will seep out, gum up the heads, and damage your player.
What recording settings should I use for speech on cassettes?
For spoken family recordings, a sample rate of 44.1 kHz at 16-bit depth matches standard CD quality and captures every detail the tape holds. If you prefer a professional preservation copy, 48 kHz at 24-bit offers plenty of headroom. Higher settings only increase file size without improving the sound of aged magnetic tape.
Written by
Dan Warner