How to clean up an old family audio recording
Learn how to reduce tape hiss, remove background hum, and make faded voices clear again using standard audio software.
Dan Warner · 1 October 2026 · 5 min read

To clean up an old family audio recording, transfer the sound directly into audio software on your computer, take a sample of the empty tape hiss to run a gentle noise reduction, and lift the speaking frequencies with an equalizer. The goal is to bring the voices forward while keeping the background static low. A light hand works best: pushing filters too far makes human voices sound metallic and thin.
Why old family recordings sound muffled
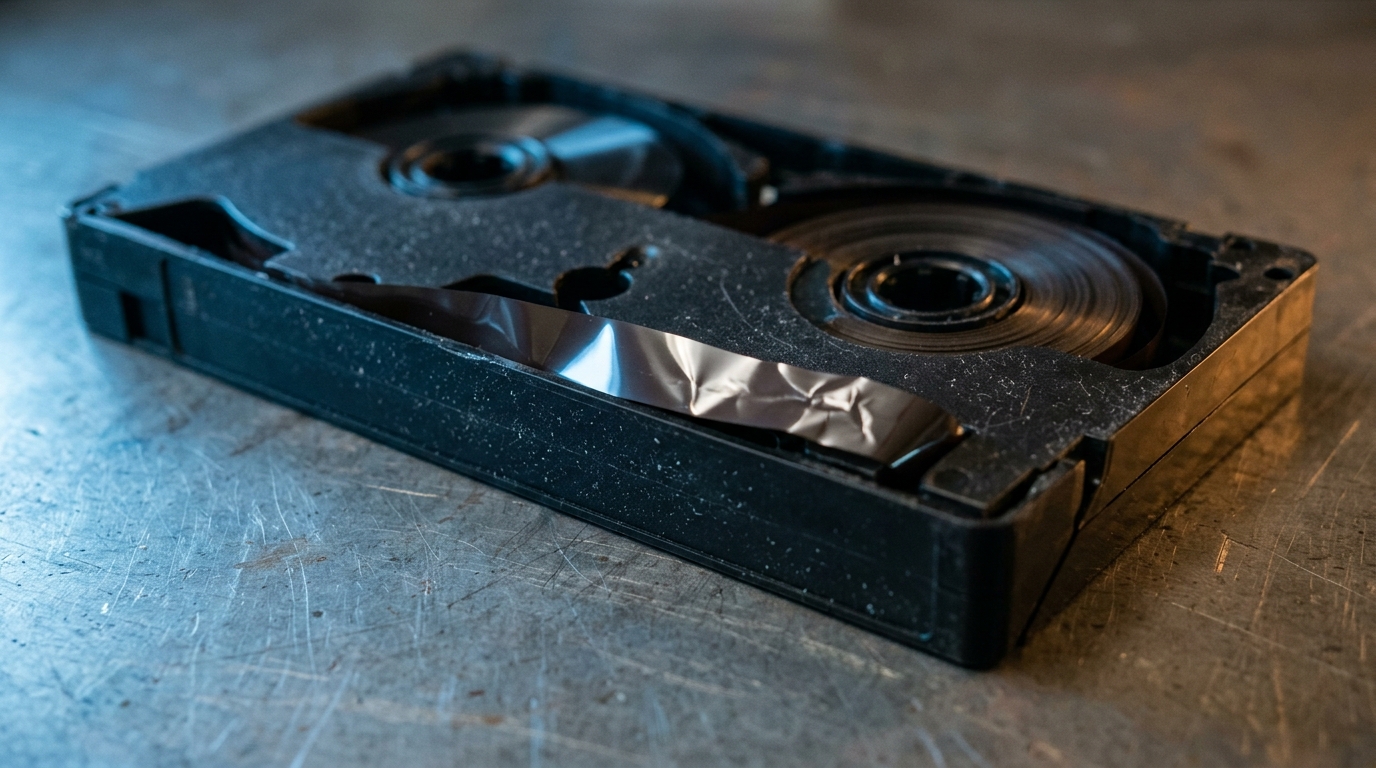
Magnetic tape wears down over time. As tapes sit in drawers or boxes, the magnetic coating slowly degrades, which usually dulls the high frequencies first. The physical cassette shell can also bend slightly, making the tape drag unevenly across the playback head.
The original room also plays a big part. Most family tapes were recorded with a single portable recorder placed on a dining table or kitchen counter. The built-in microphone caught the hum of a refrigerator, plates clattering, passing traffic, and the motor of the tape deck itself. When you listen years later, those room sounds fight with the voices you actually want to hear.
Check the physical cassette before playing
Take a close look at the cassette before inserting it into a player. Audio cassettes rely on a tiny felt pressure pad mounted on a small copper spring directly behind the center of the exposed magnetic tape. This pad keeps the tape pressed firmly against the player head during playback.
Over decades, the glue holding that felt pad often dries out. If the pad has fallen out, the tape will sound faint and terribly muffled no matter what digital tools you try later. You can find replacement adhesive pads online and put one in place using tweezers. Once the tape looks sound, use a pencil inserted into one of the spools to turn the reels gently, making sure the tape moves freely without sticking.

Get a clean direct transfer
Do not try to digitize a tape by playing it through a speaker and recording the room with your phone. That adds room echo, background chatter, and new hiss on top of the original tape sound.
Connect the headphone or line output of your cassette deck directly to a computer line-in port or a simple USB audio interface. For a full walkthrough on hardware cables and recording levels, read our guide on how to digitize audio cassettes. In your recording software, watch the input meter while testing the tape. Set the volume so the green bars bounce near the top during loud talking, but never hit the red peak zone where the sound will crackle and distort.
Capture the noise profile
Tape hiss is a steady, continuous background noise across the entire track. Good audio editing tools can remove it by capturing a profile of the hiss when nobody is talking, then subtracting that sound across the rest of the recording.
- Open your digitized file in your software editor and zoom in on the waveform.
- Find a gap of two to four seconds where nobody speaks and no doors slam, just the pure background hiss and room hum.
- Highlight this short segment with your mouse.
- Open the noise reduction effect and click the button to capture the noise profile or print.
- Select the entire recording, open the noise reduction tool again, and run the filter at a moderate, cautious setting.
Always err on the side of caution. If you push the noise reduction slider to completely silence the background, voices quickly turn robotic and watery. Leaving a quiet, natural hiss in the background sounds much better to the ear than removing every trace of room tone.
Normalize the overall volume
Once the hiss is reduced, run a normalize effect across the entire track. Normalization scans the full recording and raises the volume evenly until the loudest peak reaches a comfortable level just below distortion.
Many family tapes were recorded at low levels, or the speaker sat several feet away from the unit. Normalizing the audio brings the overall sound to a clear, healthy baseline. That makes it much easier to hear what needs cleaning in the next step.
Equalize to make speech clear
Even after lowering the hiss, voices can sound boomy, dull, or trapped inside a box. An equalizer, usually called EQ in software menus, lets you turn up or turn down specific frequency ranges.
Cut the low rumble
Most human speech contains very little sound below eighty hertz. Low hum from room fans, traffic, or bumping the table lives in this lower register. Applying a high-pass filter or turning down frequencies below eighty hertz cleans away the low rumble without changing how the voice sounds.
Lift the consonants
Clarity in human speech lives in the higher midrange, roughly between two thousand and four thousand hertz. This band holds the sharp consonant sounds like T, P, and S. Adding a gentle, wide boost in this range helps words stand out distinctly from the background murk.
Level out shouts and whispers
Cassette recordings around family tables are rarely level. A grandchild might lean straight into the microphone to laugh, followed by a grandparent speaking softly from the other end of the couch. If you raise the volume to catch the story, the laugh hurts your ears.
You can highlight quiet moments manually and boost their volume, or you can apply a compressor. A compressor automatically lowers sudden loud spikes and raises quiet phrases, giving you a steady, comfortable listening experience from start to finish.
Save and use the cleaned voice
When your cleanup sounds natural and clear, export the master track as an uncompressed WAV file to preserve every detail. Save your original unedited transfer file as well, storing both safely following the 3-2-1 backup rule for family photos and home archives.
Once you have that voice clear again, you can pair it with family pictures to keep the memory alive for an upcoming gathering. Linof turns family photos and home video clips into a short film with music and moving moments, and your first photo animation is free. It gives you a way to share a parent's voice, stories, and photographs with everyone in the room when planning a memorial film or tribute.
Take your time with the filters, listen on good headphones, and keep adjustments gentle. Rescuing an old voice takes patience, but hearing an old conversation clearly again makes every step worthwhile.
Questions
Can audio software remove background television or barking dogs from an old tape?
No, because sudden background sounds share the exact same frequency ranges as human speech. Removing a barking dog or a television voice usually cuts away the family member's voice at the exact same moment. Audio filters work best on steady, consistent noises like tape hiss, electrical hums, or the drone of an air conditioner.
What causes the watery or robotic sound after applying noise reduction?
That metallic, watery tone happens when noise reduction settings are turned up too high. The software mistakes natural overtones in the person's voice for background noise and subtracts them. Back off the reduction slider until the voice sounds warm and natural, even if a faint layer of hiss remains.
Should I save the restored recording as an MP3 or a WAV file?
Export your master restored file as an uncompressed WAV file. MP3 compression discards subtle audio details to make the file smaller, which degrades the sound quality of an already fragile recording. You can always make an MP3 copy later to email to relatives, but keep the master as a WAV.
Written by
Dan Warner