How to remove the yellow tint from old photos
A practical guide to removing the heavy yellow tint from aging family photos, using scanner settings, white balance tools, and simple color adjustments.
Dan Warner · 1 October 2026 · 5 min read
To remove the yellow tint from an old photo, adjust its white balance after scanning or photographing the original print. In almost any phone editing tool or computer software, moving the warmth or temperature slider toward cool blue neutralizes the yellow cast. If your software includes an eyedropper tool, clicking a spot that was originally white or neutral gray will rebalance the colors across the whole picture.
Why vintage prints turn yellow
Color photo prints from past decades do not fade evenly. Photographic paper relied on three separate layers of dye: cyan, magenta, and yellow. Cyan and magenta dyes break down much faster than yellow dye when exposed to light, heat, and seasonal humidity.
Over the years, the blue and red parts of the image quietly disappear. The yellow dye remains stable for much longer. What looks like a dirty yellow film sitting over your picture is actually the surviving dye layer showing through after the others have faded away. Even photos stored away in dark shoe boxes lose their cyan and magenta dyes because the chemical bonds in vintage photo paper naturally break down over decades.
Scanner settings for quick correction
If you have a flatbed scanner, you can address the yellow shift before saving your files. Many scanner software programs include automatic color restoration tools.
- Open your scanner software and switch to advanced or professional mode so hidden options become visible.
- Look for an option named color restoration, faded print correction, or auto tone balance.
- Run a preview scan of your picture to check the result on your screen.
- If the preview looks balanced, scan the picture at 300 to 600 dots per inch (DPI) and save it as a high quality TIFF or uncompressed JPEG.
Scanner correction is not always precise on skin tones, but it provides a clean baseline. If you are preparing prints alongside family media like film or slides, learn how to digitize slides and negatives before starting your scan sessions.
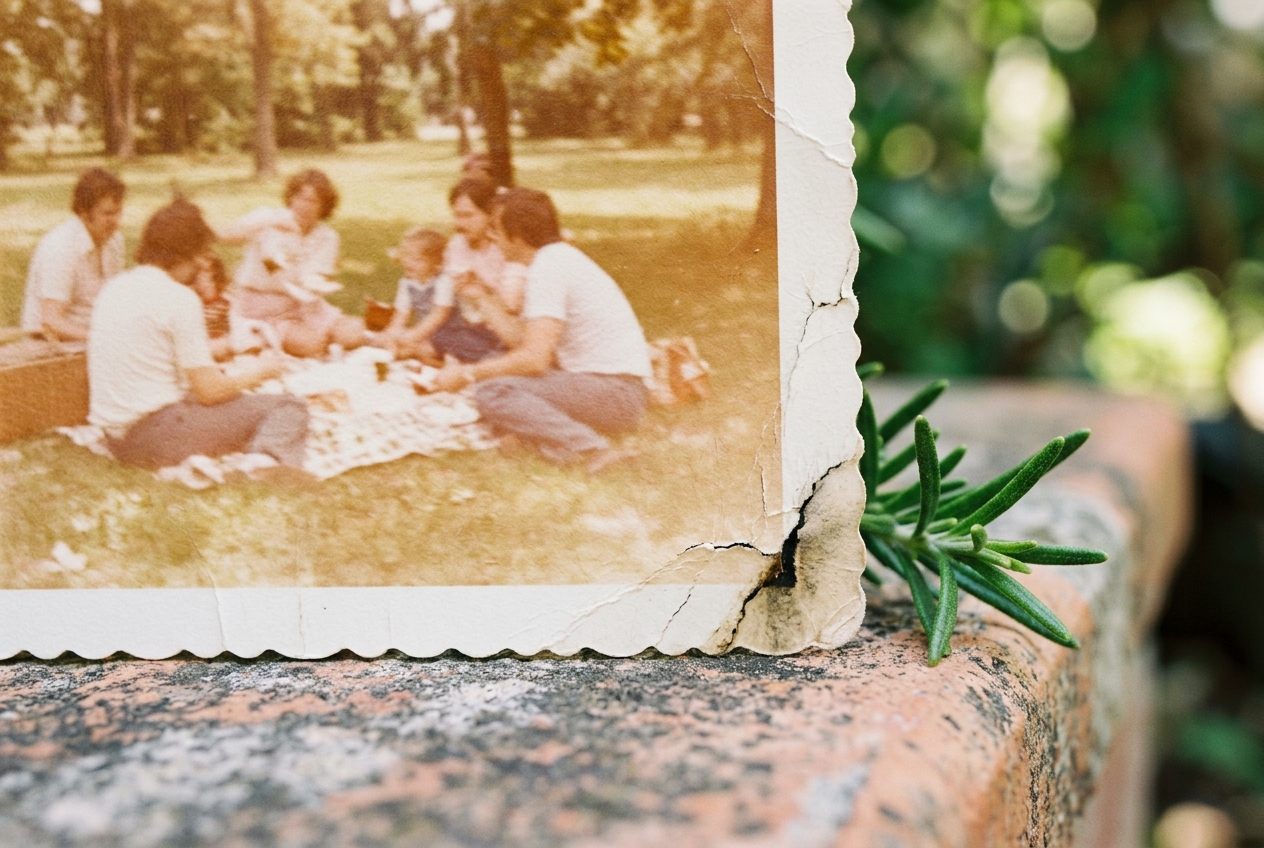
Using the eyedropper for white balance
When a photo is already on your phone, tablet, or computer, the neutral point method is the most reliable manual technique. This feature appears in most dedicated photo editing programs under tools labeled white balance, color balance, or curves.
Pick your target
Open the picture and select the eyedropper icon. Find an area of the image that you know was neutral in real life. Good options include: - A white cotton shirt, wedding dress, or apron. - A cloud in a blue sky. - The white painted stripe on a street or sidewalk curb. - The white iris of an eye or a clean enamel surface.
Let the tool balance the dyes
Click or tap directly on that neutral spot. The software reads the amber pixels and shifts the whole image by adding cool blue to neutralize them. The faces in the frame immediately look more natural, grass returns to green, and dark shadows stop looking brown.
If the result turns the picture too cold or purple, undo the click and try another area. The eyedropper relies on true neutral gray or white, so clicking an off-white cream curtain or a yellowed street sign will throw the colors off.
Adjusting temperature and tint sliders manually
Many close portraits and indoor snapshots do not have an obvious white reference point. For these pictures, use the temperature and tint sliders built into your default smartphone photos app or basic computer editor.
Step 1: Cool the temperature
Find the slider marked warmth or temperature. This slider shifts the image between warm yellow and cool blue. Slide the control slowly toward the blue end. Watch the faces in the frame as you move the slider. Skin tones will lose their muddy orange tint and appear cleaner. Stop as soon as the whites look clean. If you slide too far, the entire photo will take on an unnatural icy blue tone.
Step 2: Balance the tint
When cyan and magenta dyes fade, vintage prints often develop a secondary greenish tone alongside the yellow. Look for the tint slider, which balances green and magenta. Nudge the tint slider slightly toward magenta. This brings healthy warmth back into lips and cheeks without returning to the old yellow cast.
Step 3: Check highlights and shadows separately
Some advanced photo apps let you adjust color temperature for highlights and shadows independently. Because yellow dye fade tends to show most strongly in the brightest parts of a print, you can cool the highlights while leaving the shadows alone. This keeps dark suits, black hair, and shadowy corners rich and dark instead of washing them out in blue.
The limits of software correction
Digital editing can only rebuild what remains in the file. When a physical print has faded so severely that the cyan dye has vanished completely, pulling the temperature slider toward blue simply turns the faded yellow areas a flat, noisy gray.
Know when to stop adjusting. A family snapshot from forty years ago should still feel like a photograph from that era. Leaving a gentle warm tone often looks much better than forcing an aged print to look like a modern phone camera picture. If you are working through a family archive to mark a major milestone or create a wedding anniversary film, small signs of genuine age add warmth and history to the memories.
When you want to turn repaired photos and old home videos into something to share at a family gathering, Linof can repair your old photos, bring their color back, and animate them into short moving shots set to music for an anniversary, birthday, or tribute. Your first animation is free, so you can see how it looks before deciding on a complete film.
Keeping your restored files organized
Never save your corrected image over the original digital scan. Always save the restored image as a new file, adding a label such as restored or color-corrected to the file name. That way, you always have the untouched original scan stored safely on your computer.
Follow simple storage habits like the 3-2-1 backup rule for family photos by keeping copies on an external hard drive and a secure cloud backup. Once your pictures look fresh and natural again, share them with relatives who remember the people and places in them. A simple restored picture often brings back memories that have been hidden away for decades.
Questions
Can I remove the yellow tint from an old photo on my phone?
Yes, you can fix the color cast directly in your phone photo gallery app. Open the photo, tap edit, and move the warmth or temperature slider toward the cool blue side until the yellow cast fades out.
Why do old color photos turn yellow over time?
Old photographic paper contains layers of cyan, magenta, and yellow dyes. Cyan and magenta dyes degrade much faster when exposed to heat, humidity, and light, leaving behind the yellow dye.
Should I remove all the yellow from a vintage photo?
It is best to leave a slight warm tone so the photo still looks natural and true to its era. Pushing color correction too far often creates digital noise and gives skin tones an unnatural grayish tint.
Written by
Dan Warner