How to digitize slides and negatives
A practical guide to converting old 35mm slides and film negatives into clear digital photos you can actually view and share.
Dan Warner · 1 October 2026 · 6 min read

To digitize slides and negatives, you need light passing through the film rather than bouncing off it. A standard document scanner cannot do this because it lacks a light source behind the film. You can capture these transparent images using a flatbed scanner with a transparency unit, a dedicated film scanner, a digital camera setup, or a professional lab.
Why film requires a special light source
When you scan a paper photo, the scanner bulb bounces light off the surface and reads the reflection. If you put a transparent slide or negative strip on an ordinary office scanner, the result is almost completely black.
Film requires transmitted light. The light must shine straight through the plastic base and the color dyes, entering the lens on the other side. Every method that successfully converts film relies on this rear backlight.
Slides and negatives also present different challenges:
- Color slides (reversal film): These are already positive images. What you see when holding them up to a bulb is the exact image you will get digitally.
- Color negatives: These hold inverted colors and have an orange mask built into the film base. Digitizing them requires software to reverse the tones and subtract that orange cast.
- Black and white negatives: These are simple inverted tones. They are easier to convert into clean digital images, but dust and scratches show up clearly against gray tones.
Sorting before you scan
Scanning film frame by frame takes time. Most boxes in closets hold hundreds of slides or dozens of negative sleeves. digitizing every single shot is rarely worth the effort.
Set up a quick review station before buying hardware or booking a service:
- Place a simple white light panel on a table, or tape a clean sheet of white paper to a sunlit window.
- Lay your slide mounts or negative strips across the lighted area.
- Look through a basic magnifying loupe or the magnifying tool on your phone.
- Separate the blurry shots, pure scenery without people, and duplicates into one box.
- Keep the sharp portraits, family gatherings, vacations, and historical moments in your scan pile.
Cutting your collection down to the best images saves hours of work. If you are gathering pictures for an event, focus only on the faces and stories that will move people. You can read our advice on choosing photos and videos to help narrow down what really counts.
Method 1: Flatbed scanners with film holders
A flatbed photo scanner with a transparency lid is the most versatile option for home use. These units look like standard flatbed scanners, but the lid contains a built-in lamp that shines down through the glass while the scanning sensor moves underneath.
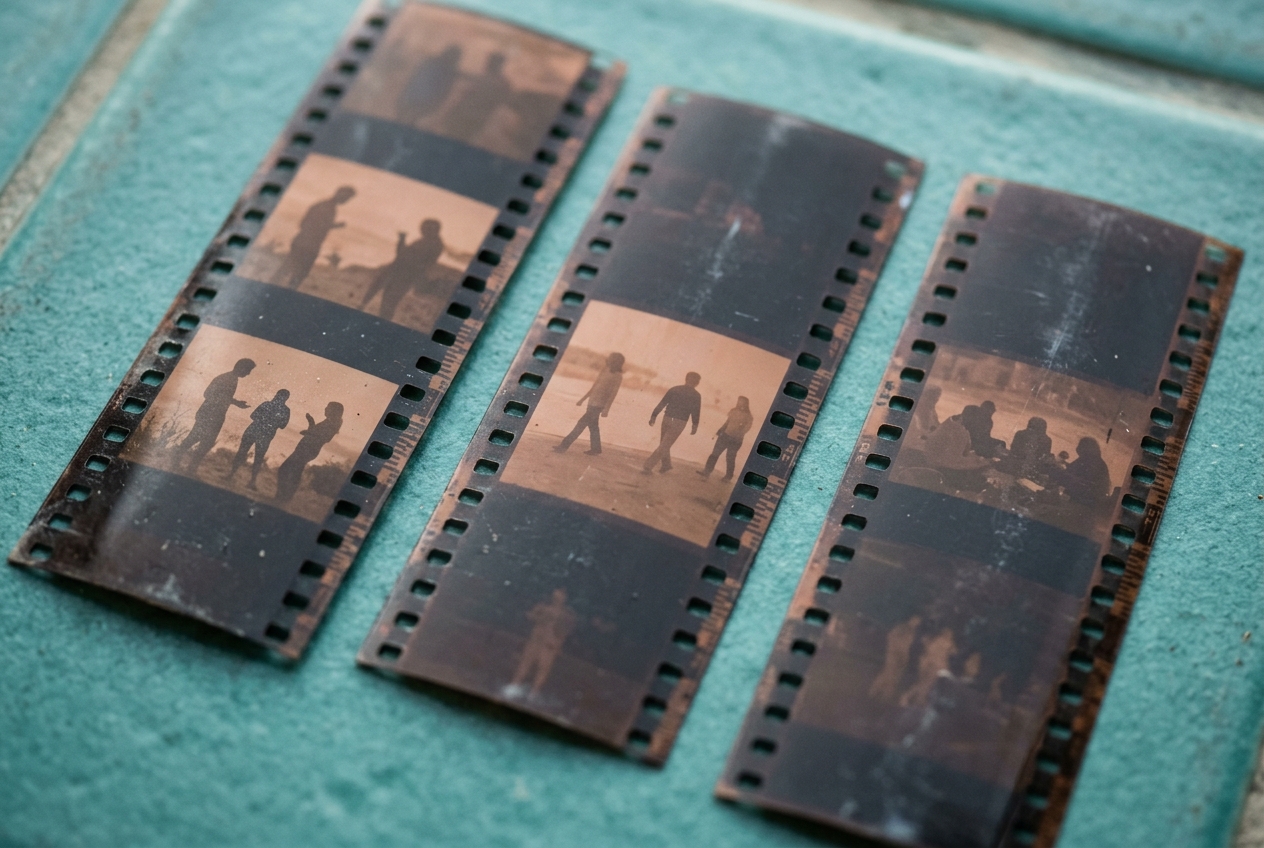
Most models include plastic trays that hold mounted 35mm slides or uncut negative strips flat.
- Pros: You can scan paper prints, documents, and film on the same machine. You can load four slides or two negative strips at once, letting the machine work in batches.
- Cons: Flatbed optics can be slightly soft compared to dedicated camera lenses. Scanning a batch at high resolution can take several minutes.
This setup works well if you have a mixed collection of old albums and a modest box of slides.
Method 2: Dedicated film scanners
Dedicated film scanners are small desktop units made strictly for 35mm slides and film strips. You insert the media into a slot or carrier tray that slides directly into the machine.
- Pros: Because the optics are tuned entirely for 35mm film, the images are usually sharper than those from a general flatbed. Many models also include an infrared channel that automatically detects and hides surface dust.
- Cons: You cannot use them for paper photos. The process is entirely manual, requiring you to feed trays through frame by frame.
If your entire archive consists of 35mm film and you want steady quality without a complex camera setup, a dedicated unit is a dependable choice.
Method 3: Camera scanning with a macro lens
Camera scanning has become popular because it is fast. Instead of waiting for a scanner carriage to move back and forth, you take an actual photograph of each slide or negative frame using a digital camera.
To use this method, you need:
- A digital camera with manual exposure controls
- A true macro lens capable of 1:1 reproduction
- A stable copy stand or tripod pointing straight down
- A high-quality light source with a high Color Rendering Index (CRI)
- A film holder to keep the negative perfectly flat
Once the camera is focused and the lighting is balanced, you can click through slides as fast as you can place them on the holder. It takes only a few seconds per shot. The downside is the technical knowledge required. You must convert negative files into positive images using photo editing software, which involves correcting color balance and contrast manually.
Cleaning and handling old film
Dust is the biggest problem when enlarging a tiny 35mm frame. A speck of dust invisible to the naked eye looks like a black blotch across someone's face on a large screen.
Clean your media gently before it touches the glass or holder:
- Use a rubber hand-bulb blower to puff loose dust off both sides of the film. Never blow on the film with your mouth, as moisture droplets will spot the emulsion.
- For stubborn lint, wipe very lightly with an anti-static camel hair brush.
- Hold negative strips only by their outer edges or wear clean white cotton gloves to keep skin oils off the surface.
- Never use household glass cleaners or water on film. The emulsion absorbs moisture easily and can be ruined.
If you find your old slides have shifted toward red or magenta after decades in storage, you are seeing chemical fading. While basic scanner software can restore some balance, deep corrections require manual color grading. If you are preparing images for a family tribute or an anniversary party, plan extra time to balance the skin tones after your files are saved.
Doing it yourself or hiring a lab
Scanning requires time and patience. A hundred slides can easily occupy an entire Saturday morning once you account for dusting, loading trays, scanning, and naming files.
If you have thousands of slides or delicate negative rolls, hiring a professional digitizing lab often makes practical sense. Commercial labs use automated high-speed scanners that keep film safe, track frames correctly, and handle color conversion cleanly. If you also have family videotapes from later years, you can see how services compare in our guide to digitizing tapes yourself or using a service.
Giving your still photos a second life
Scanning is only the first step. Once your slides and negatives are converted into digital files, they belong somewhere better than a forgotten hard drive folder.
Linof turns your family photos into a short film with music and motion, bringing quiet memories back to life for an event or tribute. The first animation is free, so you can see a favorite old slide become a moving shot before deciding on a complete film.
Whether you scan a handful of slides this weekend or send boxes of negatives out for scanning, getting those pictures out of dark drawers is worth the effort. Every frame holds a real day that someone cared enough to keep.
Questions
What resolution should I use to scan 35mm slides and negatives?
Scan 35mm film at 2400 to 3200 DPI for a good balance of detail and file size. This creates an image sharp enough for large screens and standard photo prints without making the digital files unwieldy.
Why do my scanned color negatives look orange or inverted?
Color negatives have an orange mask built into the film base to balance the dyes during darkroom printing. Scanning software must invert the negative tones and subtract this orange cast to display normal colors.
Can I use rubbing alcohol to clean dirty slides before scanning?
Never use rubbing alcohol, water, or household cleaners on slides, because moisture can soften and destroy the photographic emulsion. Stick to a dry rubber air bulb and a soft anti-static brush to remove surface dust safely.
Written by
Dan Warner