How to convert MiniDV tapes to digital
A practical guide to transferring MiniDV tapes to modern digital video, whether you connect a camcorder at home or hand the box to a lab.
Dan Warner · 1 October 2026 · 4 min read
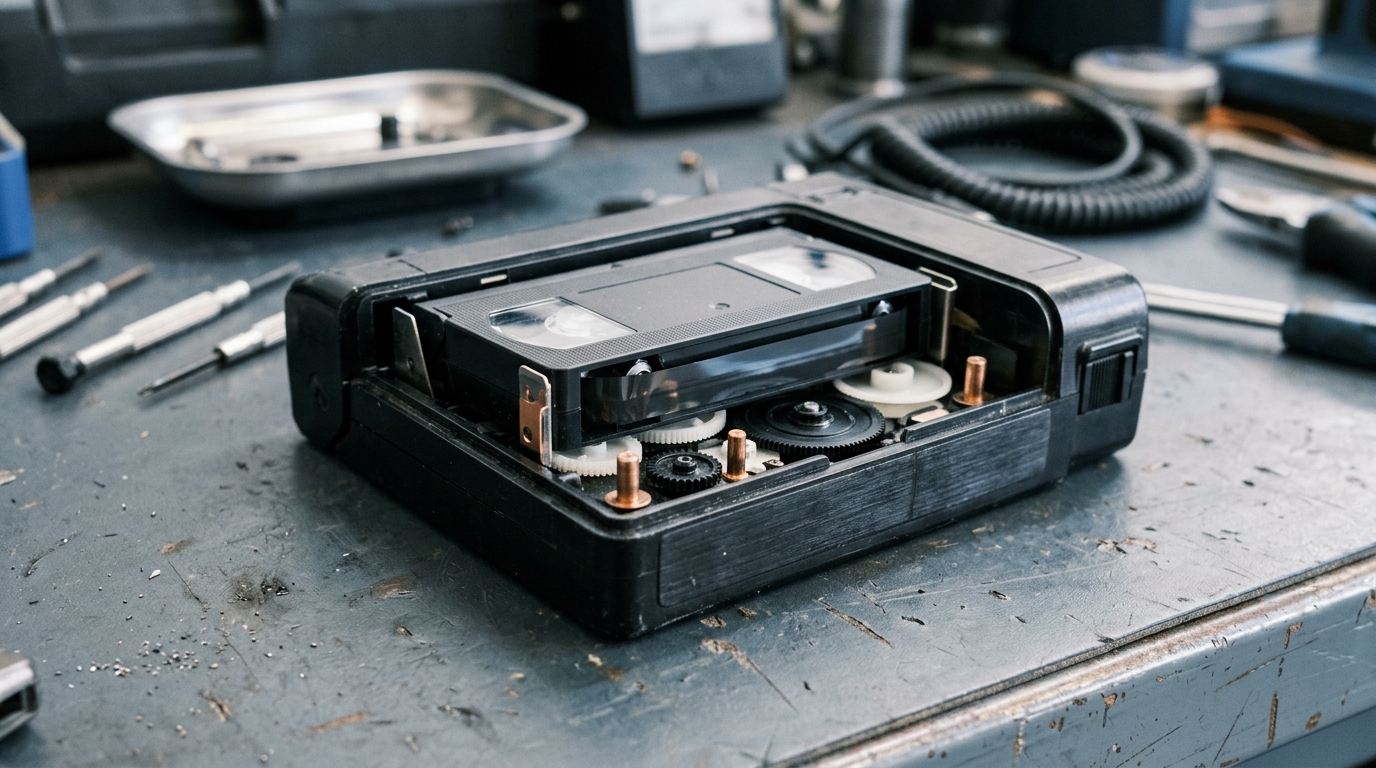
To convert MiniDV tapes to digital files, you need a working MiniDV camcorder, a connection cable to your computer, and capture software. You connect the camera, press play on the tape, and record the stream in real time onto your computer drive. If tracking down vintage hardware sounds overwhelming, you can also send the tapes to a dedicated transfer lab to handle the equipment for you.
Unlike older analog formats, MiniDV records video as digital data directly onto magnetic tape. That means transferring it to a computer does not require converting an analog signal. It is a direct stream of the original video and audio tracks, which preserves the full picture quality of your original recording.
Why MiniDV works differently from analog tapes
Many people think MiniDV works like full-size cassettes from the nineteen eighties. You can learn more about how analog video works in our guide on how to convert VHS to digital. Analog tapes hold electrical waves that an adapter must translate into digital code.
MiniDV cameras recorded actual digital bits on tape spools. When you play the cassette through a digital connection to your laptop or desktop, you copy the original video stream without generation loss. The transfer still happens at playback speed. A sixty-minute tape takes sixty minutes to transfer to your hard drive.
What you need for a home setup
Setting up a home transfer requires a few specific pieces of equipment. Gather everything before you begin so you can run through your tapes in one project.
- A working MiniDV camcorder or dedicated deck with an AC power cord. Old rechargeable batteries fail easily, so keep the camera plugged directly into the wall.
- A data cable matching your camera output. Most MiniDV camcorders feature a small four-pin FireWire port, historically called IEEE 1394 or i.Link.
- The right adapter chain for your computer. Modern computers lack FireWire ports. Desktop PC owners can install a dedicated PCIe expansion card. Modern Mac users often need a chain of adapters, linking FireWire to Thunderbolt to connect into a modern port.
- Capture software. Mac users can capture directly through the built-in QuickTime program. Windows users often rely on lightweight capture tools like WinDV or open source tools like OBS Studio.
- Ample storage space. Raw DV files are uncompressed and take up roughly thirteen gigabytes for each hour of tape.

Step by step tape capture
Once your cables are secured and your software is open, you can begin capturing your footage.
- Plug the camcorder into the wall and connect the data cable to your computer.
- Turn the camcorder on and switch it to playback or VCR mode.
- Insert your MiniDV tape and rewind it completely to the beginning.
- Open your capture software and select your connected camcorder as the active video and audio source.
- Click record inside your software, then immediately press play on the camcorder transport buttons.
- Watch the footage play on your screen during the transfer. This allows you to check for dirty playback heads, magnetic dropouts, or dropped audio.
- When the recording ends, stop the software capture first, then stop the camcorder playback.
Managing and compressing the files
Raw DV files work wonderfully for preservation, but their large size makes them awkward to share with relatives. To turn these large master recordings into files you can send to family or load onto a television, run them through an encoder like Handbrake to convert them into MP4 video files.
Save your raw capture files on an external hard drive stored safely at home. Then use the compressed MP4 files for daily watching, sharing, and organizing. When you finish digitizing an entire collection, follow good preservation habits by checking how to store old VHS tapes, because magnetic MiniDV tapes need the same cool, dry environment away from damp basements.
Doing it yourself or using a lab
Setting up hardware at home makes sense if you own dozens of tapes and already possess a working camcorder. If you only have three or four tapes, tracking down working vintage cameras, FireWire cables, and adapters quickly becomes expensive. Camcorder mechanisms are delicate, and aging gears can chew precious tape ribbons if the rubber rollers have dried out.
A dedicated transfer service operates professional playback decks that are regularly calibrated and cleaned. If you live near Tel Aviv or want to hand your tapes to professionals with decades of studio experience, you can send them directly to our sister lab for MiniDV conversion. You drop off your cassettes, and the lab provides clean digital files on a modern drive.
Turning raw footage into something to share
Most family video collections contain hours of long pans across living rooms, shaky birthday candle lightings, and silent outdoor walks. Having them on a hard drive protects the physical tape from degrading, but nobody wants to sit through forty hours of unedited raw tape at a family gathering.
Linof turns your old family videos and restored photos into a short, edited film set to music for an anniversary, birthday, or tribute, and your first photo animation is free.
If you want to assemble a presentation yourself for an upcoming milestone, read our guide on how to choose photos and videos. Focus on pulling thirty-second clips where people are speaking, laughing, or interacting naturally. Pair those moving moments with scanned childhood prints to trace how someone grew over the years.
Getting MiniDV tapes converted to digital removes the fear of magnetic decay. Once those moments sit safely on your drive, you can bring the voices, laughter, and memories back into the room for your family to enjoy together.
Questions
Can I convert MiniDV to digital using a regular USB cable?
Most MiniDV camcorders only use their USB port for transferring low-resolution still photos, not full video. To get full native digital quality, you need to use the camera's FireWire connection with the appropriate computer adapters.
How much hard drive space does a MiniDV tape take up?
One hour of raw captured MiniDV footage requires approximately thirteen gigabytes of storage. After capturing the full-resolution file, you can compress it to an MP4 file that takes up only one to two gigabytes.
Can I convert a MiniDV tape if my original camera is broken?
You can play the tape in any working MiniDV camcorder or deck, regardless of whether it matches your original brand. If you cannot find a working player, a professional digitization service can play the tape on their studio equipment.
Written by
Dan Warner