How to convert VHS-C tapes to digital
Learn how to convert compact VHS-C tapes to digital files using a motorized adapter at home, or when to send them to a professional transfer lab.
Dan Warner · 1 October 2026 · 6 min read
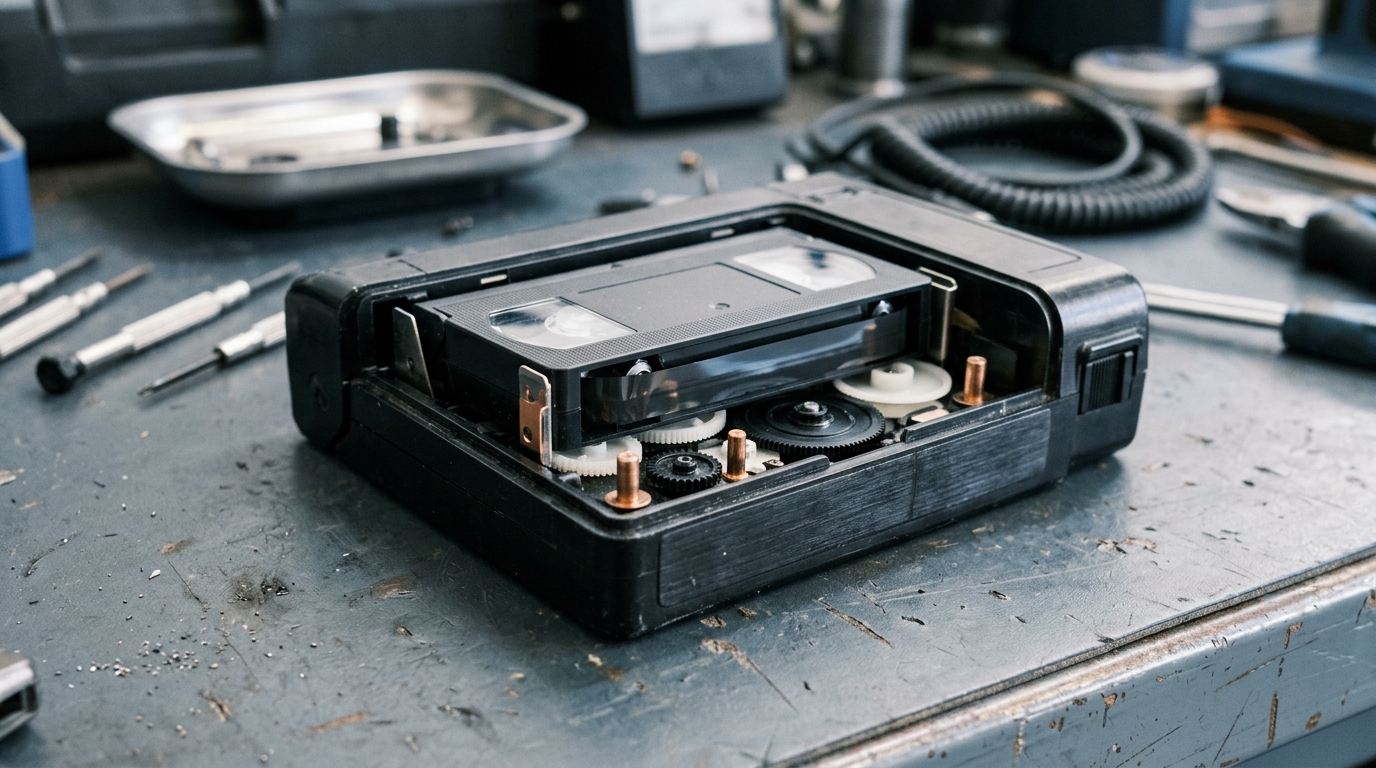
To convert VHS-C tapes to digital, you place the small cassette into a motorized adapter, slide that adapter into a standard VCR, and run the signal into your computer with a USB video capture card. If you do not have a working VCR or a good adapter, you can send your tapes to a dedicated transfer lab. Both routes save the recordings before the magnetic ribbon breaks down.
The compact tape in the family shoe box
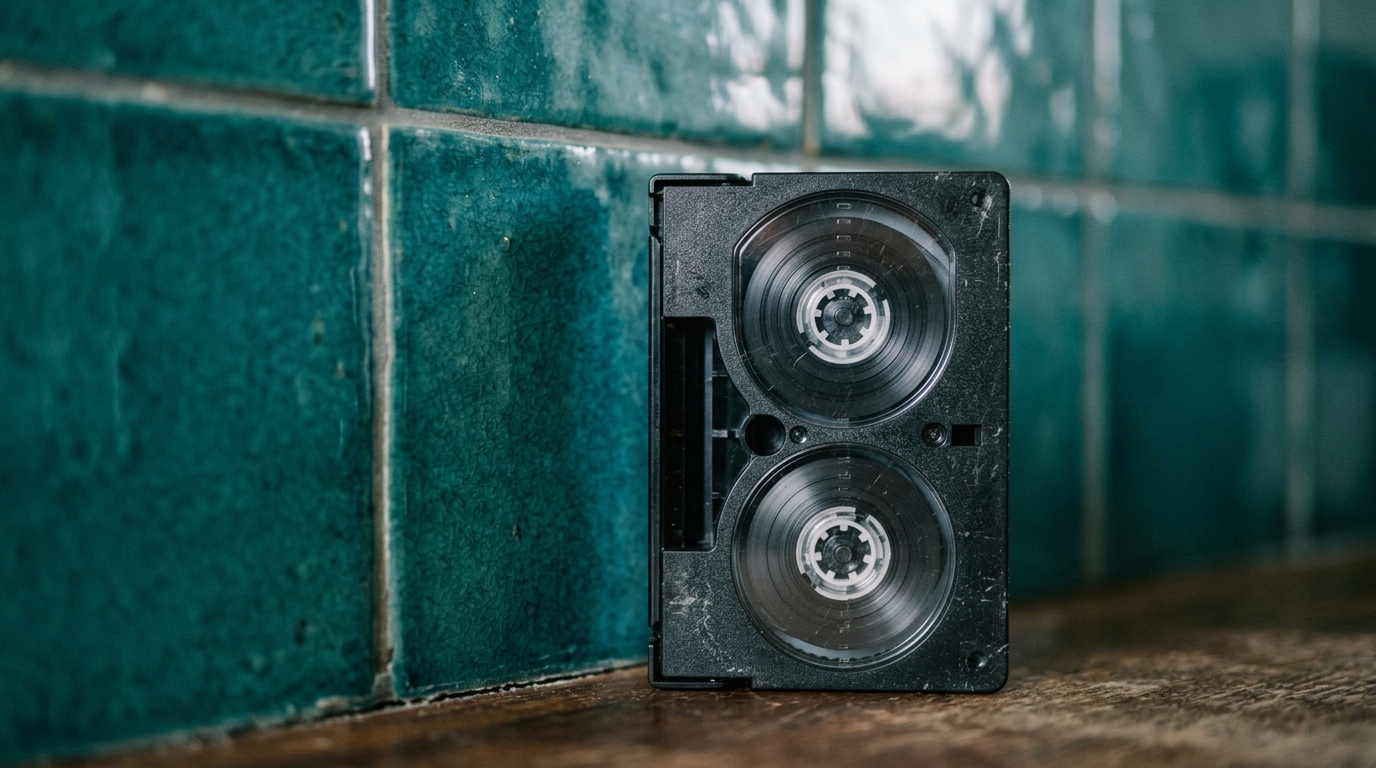
If you open a storage box of family memories from the late 1980s or 1990s, you will likely find compact black tapes about the size of a deck of cards. Parents bought handheld camcorders to capture birthday parties, school plays, and holiday dinners without carrying heavy studio equipment. Those camcorders ran on VHS-C cassettes.
The letter C stands for compact. The shell was tiny, but the magnetic tape ribbon inside was the exact same half inch width used in standard full size tapes. Camcorder makers built them this way on purpose. Once you finished filming, you did not need special cables to hook the camera to your television. You simply dropped the cassette into a hollow adapter shell, which stretched the ribbon out so a regular living room player could read it.
Magnetic tape decays gradually over decades. Heat, humidity, and simple time cause the magnetic binder to loosen and flake away. The players needed to run them are also vanishing. Digitizing those cassettes ensures the voices and laughter on them are not lost.
Confirming your tape format
Before ordering hardware, check that your cassettes are actually VHS-C. People often mix them up with Video8, Hi8, or MiniDV cassettes because all four formats look small and rectangular.
Look closely at the tape door on the front. VHS-C shells house a half inch ribbon across two visible spools. Video8 and Hi8 cassettes hold narrower eight millimeter ribbon, and their shells are slightly thinner. MiniDV cassettes are smaller still. If you are uncertain about what sits in your box, our guide on how to convert VHS covers the standard family video formats in detail.
Because VHS-C contains standard tape ribbon, you can play it inside any operational VCR using an adapter. You do not need to hunt down the original handheld camera that filmed the footage.

Equipment needed for digitizing at home
Transferring tapes at your own desk is straightforward once you assemble the proper gear. You need four tools:
- A working VCR with clean playback heads
- A motorized VHS-C adapter cassette
- A USB video capture device with standard RCA red, white, and yellow cables
- A computer with free recording software and plenty of free hard drive space
Inspect your adapter before you insert any valuable family recording. Motorized adapters use a single AA battery to turn tiny internal gears. These gears mechanically swing out an arm that pulls the tape ribbon across the front guide posts. Over decades, those internal plastic gears become brittle, and battery compartments corrode.
Test the adapter using a blank tape or an old tape you do not mind damaging. Load the test cassette, listen for the quiet whir of the motor as it locks the tape into position, and insert the whole shell into your VCR. Press play, forward, rewind, and eject. If the adapter ejects cleanly without snagging the ribbon, it is safe to use for your real memories.
Step by step capture process
Setting up the transfer takes only a few minutes. Follow these steps to record the tape onto your computer:
- Connect the yellow video cable and the red and white audio cables from the output jacks on the back of your VCR to the corresponding inputs on your USB capture device.
- Plug the USB capture card into your computer port.
- Open your video capture software and select the USB device as both your video and audio input source.
- Insert your tape into the adapter, slide the adapter into the VCR, and press play to check the incoming picture and sound.
- Rewind the tape completely to the beginning.
- Click the record button in your capture program, then immediately press play on your VCR.
Analog tape transfers occur in real time. If a tape contains forty minutes of footage from an afternoon park outing, the capture process will take forty minutes. Stay nearby during the transfer so you can catch tracking errors or stop the recording as soon as the footage runs out.
Once the video concludes, stop your software recording and save the file in MP4 format. Give the file an informative title that includes the year, the family event, and the original tape label number.
When to choose a professional lab
Doing this yourself takes equipment, setup, and time. If you only have one or two tapes, buying an adapter, tracking down a functioning player, and purchasing capture dongles can quickly cost more than hiring someone else.
A specialized lab is also the safer choice if your tapes show signs of physical mold, white residue on the spools, or sticky tape syndrome. Professional facilities use industrial decks and time base correctors that stabilize unsteady signals and protect fragile ribbons from snapping. If you prefer to hand the whole box to an experienced team, our sister lab Photo Linof digitizes VHS-C tapes along with every standard consumer video and audio format.
What to expect from 1990s camcorder quality
Standard camcorder video was recorded in low analog resolution. When you watch the digital output on a crisp modern computer display or a flat screen television, it will look soft. Colors may look slightly muted, and you will notice a thin line of visual noise running across the bottom edge of the frame.
This is completely normal. The camera captured scenes at the standard definition limits of its time. Do not try to run intense sharpening filters that make faces look plastic or distorted. The natural warmth, motion blur, and soft grain are part of what gives home movies from that period their distinct personality.
Bringing your digitized clips into a family film
Once your clips are safely saved on your computer, the next hurdle is sharing them. Raw home videos are filled with long stretches of pointed grass, blurry pans, and rambling background noise. Relatives rarely sit through three hours of unedited camcorder footage.
Linof turns a family's photos and videos into a short film with music, an opening title, and closing words, and the first animation is free so you can see a still picture brought into motion before paying. Turning your digitized clips into a focused celebration film makes it easy to bring everyone together around a screen, whether you are planning a milestone gathering or reading through our ideas for a wedding anniversary film.
Storing your original cassettes safely
Even after every tape is digitized and backed up across two hard drives, hold on to your physical cassettes. The original tape remains your ultimate offline copy if a digital hard drive fails.
Keep the cassettes upright on their edges like books rather than flat in stacks. Store them in a cool, dry closet away from direct sunlight, damp basements, radiators, and strong magnetic sources like large stereo speakers. Stored properly, the ribbons will remain safe while your family enjoys the digitized footage on every screen in the house.
Questions
Can I play a VHS-C tape in a normal VCR without an adapter?
No, you cannot insert a VHS-C tape directly into a regular VCR. The cassette shell is much smaller than a standard VHS slot, so you need a motorized cassette adapter to hold the tape and stretch the ribbon across the standard loading path.
Why is my VHS-C adapter not loading the tape properly?
Motorized adapters require a fresh AA battery to operate their internal gears and tape pullers. Check that the battery contacts are clean and free of corrosion, and ensure the cassette door snaps fully shut to trigger the loading mechanism.
What video file format should I choose when digitizing VHS-C?
Save your digitized footage as an MP4 file using the H.264 video codec. This format offers excellent picture balance, keeps file sizes manageable, and plays smoothly on almost all computers, phones, televisions, and editing programs.
Written by
Dan Warner