How to make a family memory book
Learn how to gather loose prints, pick the right moments, and assemble a physical family memory book that anyone can open and enjoy.
Rachel Shiraz · 1 October 2026 · 5 min read
To make a family memory book, gather your prints and digital files into one place, select the photographs that tell clear personal stories, and arrange them into a durable physical volume. The best books focus on the everyday connections between people rather than trying to preserve every single snapshot you own.
Why a physical book matters
Most family photographs now live inside phones, flash drives, and cloud storage folders. They accumulate silently, but rarely get viewed together. A physical book changes that dynamic completely.
A physical book sets a natural boundary. It asks you to make choices, leaving out repetitive snapshots so the truly meaningful moments can breathe. When a book rests on a coffee table or a shelf, anyone can pick it up. There is no password to remember, no dead battery, and no file format that will become unreadable twenty years from now. Turning paper pages together creates a quiet, shared experience that a phone screen simply cannot match.
Gathering your materials
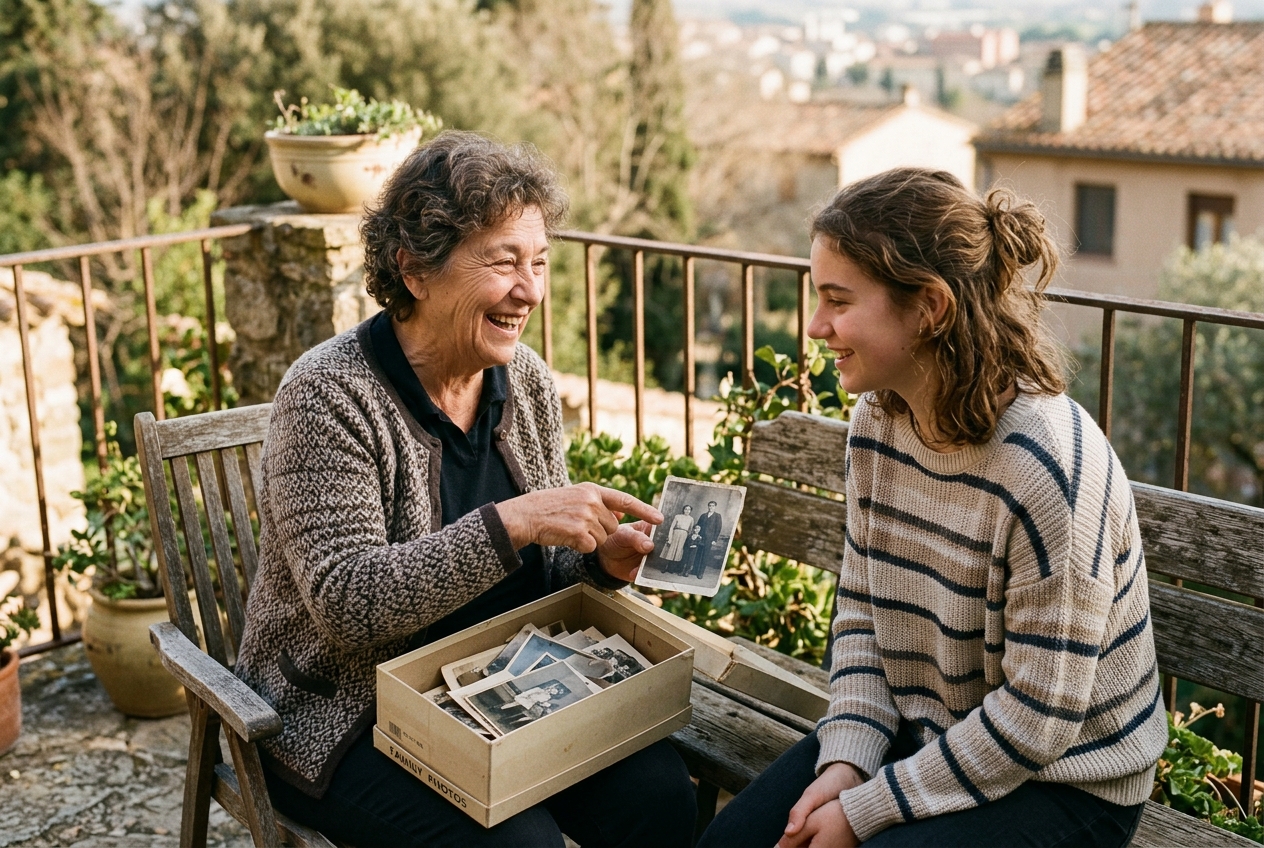
Start by bringing every container of family pictures into one bright room. This stage is only about gathering, not sorting.
Search the usual spots:
- Old shoeboxes tucked away on closet shelves
- Developing envelopes stored in desk drawers
- Framed portraits you might want to scan and copy
- Loose prints stuck inside old greeting cards
- Digital folders scattered across thumb drives and phones
Resist the temptation to organize each envelope as you pull it out. Lay everything out on a large table so you can see the true scope of your project. Knowing what you have prevents you from building half an album only to discover another box of early childhood prints later on.
Sorting by decades instead of dates
The fastest way to stall a memory book project is trying to determine the exact date and month of every single photograph. You do not need absolute chronological order to tell a beautiful family story.
Sort your prints into loose piles by decade or major chapter: childhood, early marriage, first home, school years, and recent gatherings. If you cannot place a specific year, look at clothing styles, hairstyles, cars in the driveway, or the paper stock of the print. Moving pictures into general eras keeps your momentum high and gets the raw materials organized without frustration.
Curating the images that tell stories
A memory book should read like a story, not an inventory. If you have fifteen pictures from one summer afternoon at the beach, pick the two that hold real feeling.
Look for expressive faces rather than stiff poses. A candid picture of parents laughing while burning dinner often brings back richer memories than a formal studio portrait. Look for context: the family sedan packed for a road trip, the wallpaper in your childhood bedroom, or a beloved pet sleeping in the hallway. These everyday details give your family history its grounding. To see how previous generations approached this challenge, explore the history of the family photo album.
If you find yourself with hundreds of photos for a single milestone, you can follow our guide on choosing photos and videos to help narrow down the strongest candidates.
Selecting a format
There are three primary formats for a physical memory book. Each suits a different schedule and budget.
Slip-in pocket albums
This is the simplest route. You buy a well-bound album with archival plastic sleeves and slide original prints directly into the pockets. It protects the prints from handling and requires no adhesive. The trade-off is fixed layout sizing: you cannot easily mix vertical prints, panoramic shots, and tiny vintage squares on the same page.
Traditional scrapbooks
Traditional books use heavyweight, acid-free cardstock pages. You mount original photos or duplicate prints using archival photo corners. This method allows you to include handwritten notes, old postcards, recipe cards, and birth certificates on the same spread. It takes more time and care, but it produces a distinct, handcrafted heirloom.
Digitally printed photobooks
If you scan your prints first, you can design a printed hardbound book online. This format keeps your original vintage prints completely safe in storage. It also allows you to order identical copies for siblings, children, or cousins with a single order. You can adjust photo sizes, write clean captions beneath each image, and keep the finished volume slim enough to slip into any bookcase.
Adding names and details
A photograph without names quickly turns into a portrait of strangers. Even if you recognize every face today, future generations will not know who stood beside your grandmother at her high school graduation.
Beside or beneath each image, write the essentials:
- Who is in the picture, using first and last names.
- The approximate year or season.
- The town, city, or setting.
- A short sentence capturing the moment or a memorable quote.
If you are writing by hand in an album, always use an acid-free pigment pen so the ink will not bleed through the paper or degrade over time. Keep captions clear and brief. Simple labels like "Martha and David, moving into the Elm Street house, October 1978" provide all the context a reader needs.
Bringing still photos into motion
While sorting through your collection, you will likely uncover items that cannot fit inside a paper volume. You might find home video tapes, digital clips from early phones, and older pictures that deserve a central place at an upcoming family gathering. For those moments, Linof repairs older photos, brings back their color, and turns them into a short moving shot to combine with your home videos into a finished film with music. The first animation is free, so you can see the result before deciding on the rest of the film.
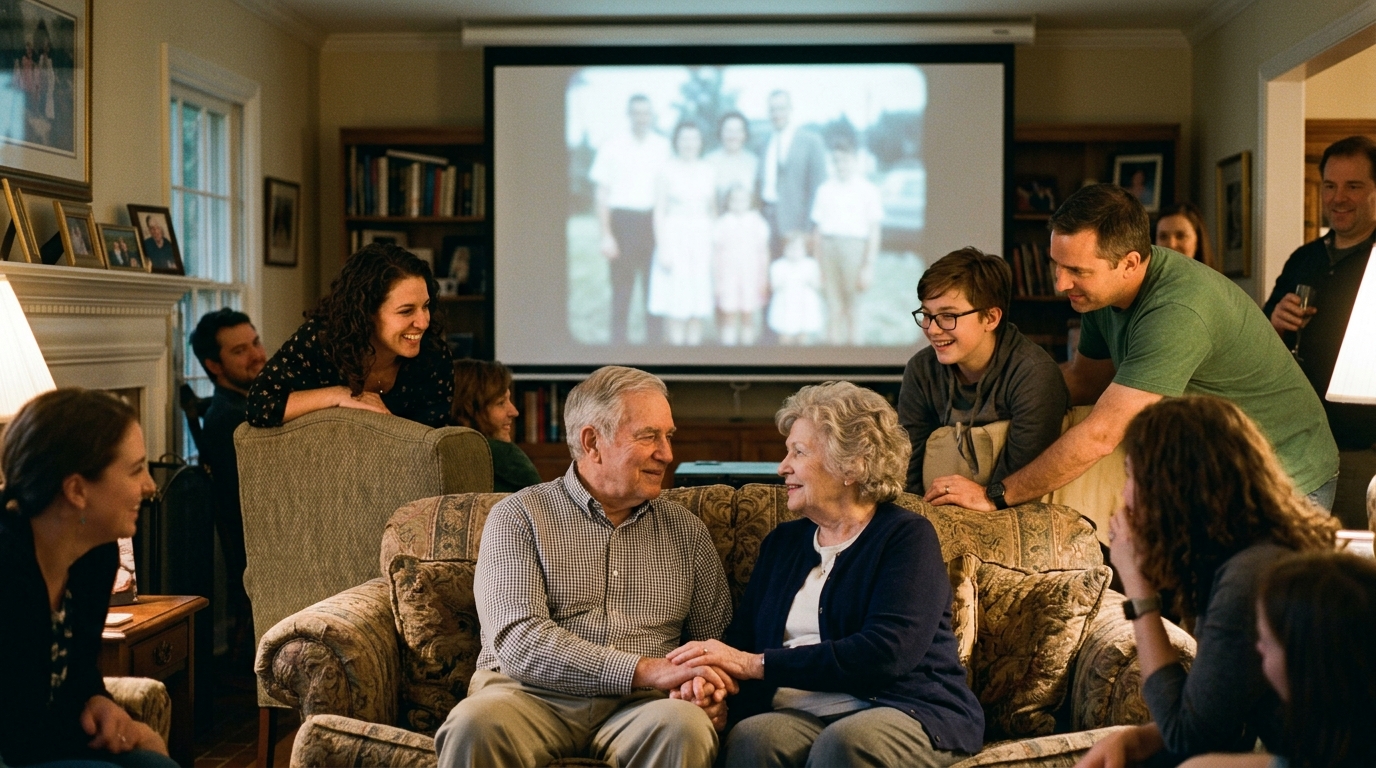
A printed book and a celebration film complement each other naturally. The book stays on the table for quiet, solitary reading, while a film lets the whole room watch and react together.
Keeping the book safe for the future
Once your memory book is complete, make sure it lasts. Store it away from direct sunlight, which fades prints quickly, and avoid damp basements or hot attics. Keeping it in a climate-controlled room protects both the glue and the paper fibers. For more details on protecting older physical prints as they change hands, see our guide on passing down family photos.
Set the finished book where people can reach it. The real worth of an album is not found in keeping it untouched behind glass, but in the conversations that happen when someone turns the pages.
Questions
What should be included in a family memory book?
A good family memory book includes clear portraits, candid everyday pictures, and photos of family homes or meaningful places. Adding names, dates, locations, and short notes gives future generations the context they need to understand each photograph.
How do you organize photos for a family memory book?
Sort your photos by decade or major life chapter rather than trying to identify exact dates. Once your images are grouped into general eras, select only the strongest two or three pictures from each event to keep the narrative moving.
Is it better to make a digital photobook or use an album?
A digital photobook is ideal if you want to scan your photos and print multiple identical copies for siblings or children. A traditional album or scrapbook is best if you want to preserve original physical prints, postcards, and handwritten notes in a single tactile heirloom.
Written by
Rachel Shiraz