What to do with old home videos: a practical guide
Learn how to sort, digitize, and back up old home tapes, then turn long raw footage into something your family will actually enjoy watching together.
Rebecca Lee · 1 October 2026 · 5 min read

The best thing to do with old home videos is to digitize the tapes before they degrade, back up the digital files in three separate places, and pull the meaningful moments into a short film people will watch together. Raw magnetic tape loses its signal over time, and sitting through two hours of unedited camcorder footage is hard for any family gathering. Following a simple order of operations will turn a forgotten box into something everyone can enjoy.
Sort the formats in your box
Before deciding on equipment or services, take thirty minutes to sort your media by size and type. Families often collected different formats as camera technology shifted over the decades.
- Standard VHS tapes are the largest cassettes, about the size of a paperback book. They were used in living room VCRs and heavy shoulder camcorders.
- VHS-C cassettes look like pocket-sized VHS tapes. Camcorders in the early nineties used them, and people played them back in full-sized VCRs using a battery-powered plastic adapter.
- Video8 and Hi8 cassettes are roughly the size of an audio cassette. These smaller tapes powered lightweight handheld camcorders through the nineties.
- MiniDV cassettes are even smaller, rectangular tapes with a clear window. They stored digital tape signals with cleaner sound and sharper pictures.
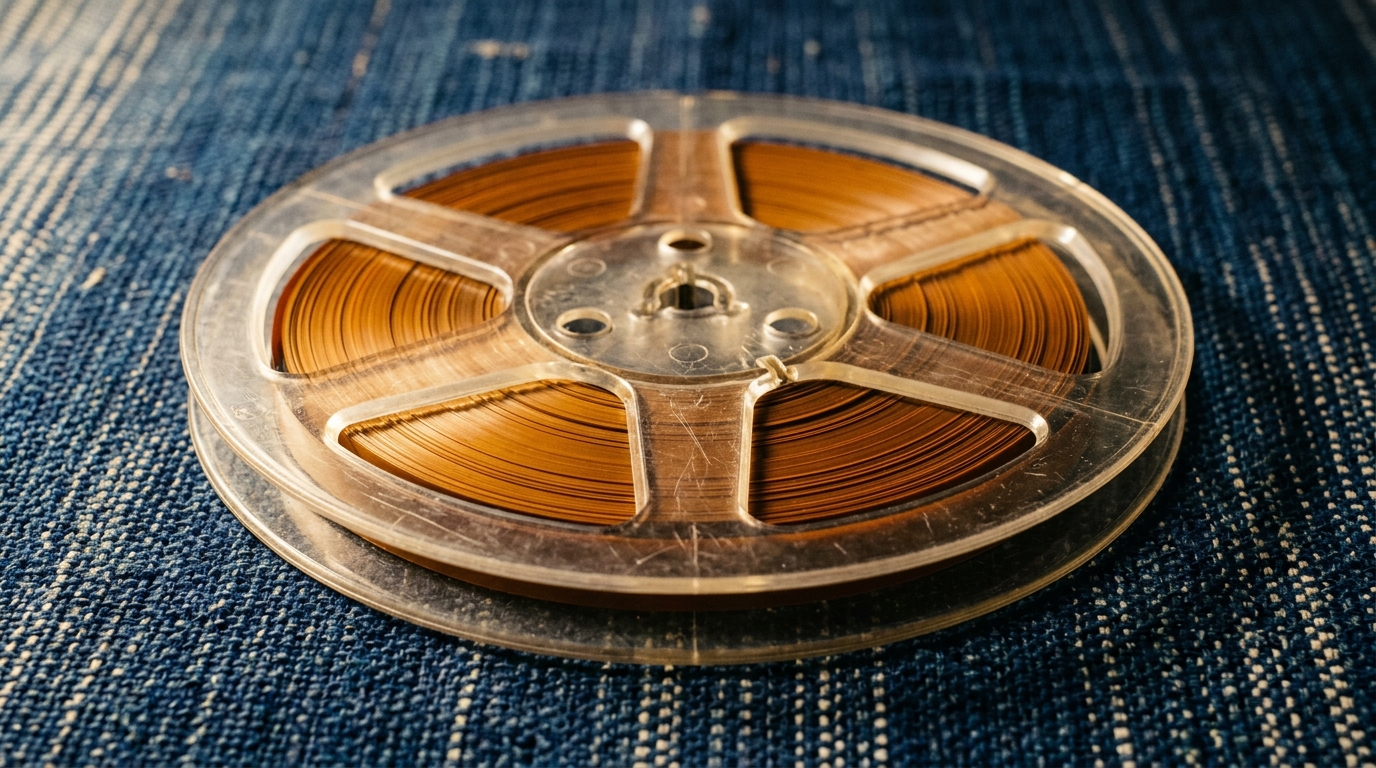
- Reels of film on open spools, usually marked Super 8 or 8mm, hold strips of continuous film rather than magnetic tape. These require frame-by-frame photographic scanning rather than a tape player.
Group like formats together in separate piles. Knowing your exact count helps you budget time and equipment.
Choose how to transfer the footage
You have two practical routes for getting video off the tape: handling the capture yourself, or taking the cassettes to a professional lab.
Transferring tapes yourself
Digitizing at home makes sense if you have working playback equipment, a desktop computer, and some patience. You need the original camcorder or a working VCR, along with a USB video capture adapter. Connect the player's red, white, and yellow cables to the adapter, plug it into your computer, and run recording software.
The capture runs in real time. A ninety-minute tape takes ninety minutes to capture, so you cannot rush the process. If you want step-by-step instructions for standard cassettes, read our practical guide on how to convert VHS.
Using a professional lab
If you do not own a working tape deck, or if you simply do not have dozens of spare hours, a professional service is the sensible path. Commercial transfer decks read fragile or slightly degraded tapes more reliably than a consumer deck. Look for a lab where you can hand the box over in person, which prevents the stress of shipping irreplaceable family recordings across the country.
Remember that digitizing preserves the footage as it is. It will not add detail that the camera never captured, nor will it remove every bounce of a moving camera. The priority is freezing the tape in time before the magnetic coating peels or grows mold.

Back up your digital files safely
Once the video files live on your computer, create a durable backup system right away. Digital files can disappear through hardware failure, corrupted files, or human error.
- Keep one working copy on your computer or an internal drive where you can view it.
- Copy the entire archive onto a dedicated external hard drive kept on a safe shelf.
- Upload the archive to an offsite cloud storage provider.
This simple rule gives you three copies on two different kinds of storage, with one copy outside your house. For deeper guidance on organizing folder names by year and event after conversion, read our guide on what to do after tapes are digitized.
Scrub the files to find the moments that matter
Raw home video contains long stretches of empty grass, school gymnasiums from fifty rows back, and conversations interrupted by sudden floor shots. To pull value out of your files without losing days to the task, use the fast scrub technique.
Open a video file in your player and tap the timeline forward in thirty-second or one-minute jumps. You do not need sound during this pass. Look for recognizable faces, holiday tables, funny expressions, or grandparents who are no longer here. Whenever an important scene appears, stop and note the file name along with the start and end timestamp in a simple text document. In one afternoon, you can map out ten hours of raw tape into twenty minutes of standout family moments.
Turn raw clips into a story for the family
A long, raw video file usually sits unwatched on a drive. What brings people together is a short, focused story with clear pacing.
Linof turns a family's photos and videos into a short film with music and title text, letting you repair old photographs, bring back their colour, and animate them into short moving shots that sit naturally beside your video clips, and the first animation is free.
If you are editing yourself on a phone or basic computer program, keep your finished cut short and bright. Focus on clear voices, joyful reactions, and familiar places. If you are preparing a tribute for a milestone gathering, explore our advice on how to choose photos and videos for your film to see how to balance older video footage with family portraits.
Store the physical tapes properly
After your digital files are backed up in three places, do not discard the original cassettes. The physical tape remains your source archive if a file ever becomes corrupted.
- Keep the tapes indoors in a temperature-controlled space, such as a closet shelf or bedroom storage.
- Avoid damp basements, unheated garages, and hot attics, because fluctuating temperatures and damp air cause tape binding to crack and mold to grow.
- Store cassettes standing upright on their edge, like books on a library shelf, rather than laid flat on top of each other. This protects the delicate tape spool edges from warping over time.
- Keep them inside clean plastic storage boxes with secure lids to block dust, moisture, and pests.
With the tapes stored cleanly and the best clips cut into an easy watch, your old home recordings stop being an intimidating box of clutter and become a shared family tradition again.
Questions
Do old VHS and camcorder tapes go bad over time?
Yes, magnetic tape breaks down gradually even under good conditions. The magnetic particles lose their charge, and the binder chemical holding the tape together can dry out or develop mold. Digitizing old tapes as soon as possible prevents permanent signal loss.
Should I throw away original tapes after digitizing them?
It is best to keep the physical tapes if you have storage room. They act as your ultimate analog backup in case a drive fails or digital files become corrupt. Store them upright in a dry, indoor closet away from heat and moisture.
What is the best way to get family members to watch old home footage?
Cut long, unedited recordings into short highlight reels focused on key people, laughter, and major events. Adding a music track and mixing video clips with restored still photos creates a story people will enjoy watching at family gatherings.
Written by
Rebecca Lee