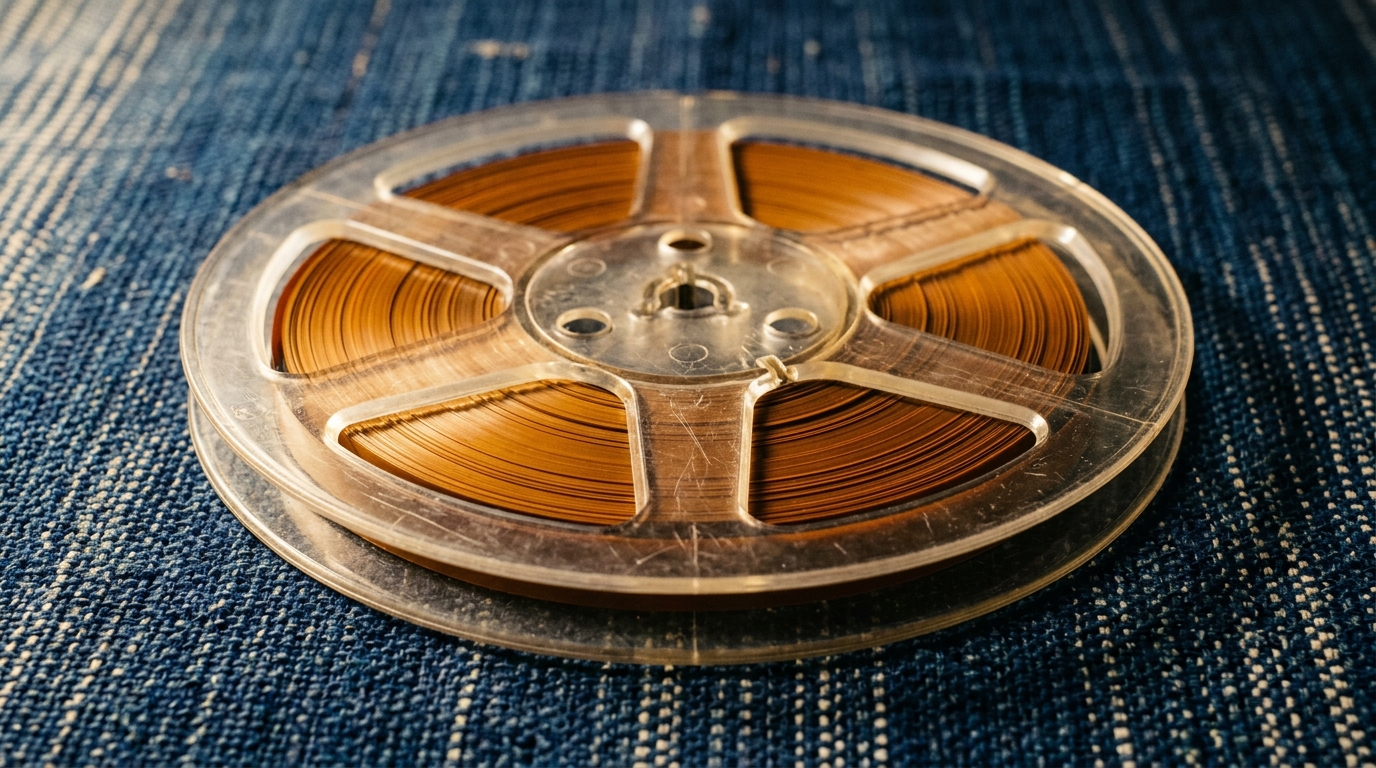
You digitized your tapes. Now what?
You finally converted those old VHS and camcorder tapes to digital files. Here is how to back them up, organize the files, and share the best moments.
Rebecca Lee · 1 October 2026 · 5 min read

The box of VHS, Hi8, or MiniDV tapes is finally cleared out of your closet, replaced by a single USB drive or a download link. The immediate next steps are to back up those files in three places, rename the generic numbers so you know what is inside, and trim out short scenes your family can actually watch.
When you open that digital folder for the first time, you will probably see a long list of filenames like Tape_01.mp4 or Capture_002.mov. Decades of family milestones look like an office spreadsheet. The urge is to double-click the first file and watch for hours, but you need to secure the files before doing anything else.
Back up your files immediately
Digital files are safe from tape wear, but they are vulnerable to computer crashes, spilled drinks, and dropped hard drives. Losing that single folder means losing the tapes all over again, and this time the cassettes might be degraded past the point of another transfer.
To keep your footage safe, follow the classic backup rule: keep three copies of your data, on two different types of storage, with one copy stored in a separate location. You can learn more about how this works in our guide to the 3-2-1 backup rule for family photos.
Here is how to set up your three copies:
- Copy the entire contents of your transfer drive directly onto your computer internal drive. Keep the transfer drive in a desk drawer as your first physical backup.
- Buy a separate external hard drive and copy the full folder there as a second physical backup. Store this second drive in a different room or at an office.
- Upload the full folder to a secure cloud service such as Google Drive, iCloud, or Dropbox. Cloud storage ensures that even a household accident will not touch your memories.
Once those three copies exist, you can rename, move, and edit your working files without any fear of losing the originals.
Skim and rename the mystery files
Nobody has thirty uninterrupted hours to watch every tape from beginning to end just to find out what is on them. Most home recordings contain long stretches of static, accidental footage of the floor, or forgotten television broadcasts.
To identify a two-hour tape in a few minutes, skim through it in jumps:
- Open the video in your standard media player.
- Click the progress bar at roughly ten minutes, thirty minutes, sixty minutes, and ninety minutes.
- Note down the general contents. You might see a birthday cake with candles at minute ten, an empty living room at minute thirty, and a beach trip at minute sixty.
Keep a notepad or a blank text document open beside the video window. Write down the original file name and two or three keywords from what you saw.
Use clear filenames
Generic names make searching impossible later. Rename your working files using a simple, consistent pattern: year, month or season, and the event.
Good examples: - 1993_Summer_Trip_to_Lake.mp4 - 1988_December_Maya_First_Steps.mp4 - 1996_Spring_Dad_Garden_and_Picnic.mp4
If you do not know the exact year, write your best estimate, such as Early_90s_Holiday_Dinner.mp4. Even an approximate year makes the archive far easier to browse. For more detailed steps on sorting your library, see our guide on how to organize digitized family videos.

Trim long tapes into short moments
Even with clear names, very few people will sit down to watch an unedited ninety-minute camcorder file. Modern screens and busy schedules call for shorter pieces. The true value of digitizing your tapes comes from separating the gems from the empty footage.
You do not need expensive video software to trim files:
- On a Mac, open the video in the built-in QuickTime player, choose Trim from the Edit menu, drag the yellow start and end bars around the moment you want, and save it as a new file.
- On Windows, open the file in the Photos or Clipchamp app, use the trim tool, and export the short clip.
Aim to pull out clips that run between one and three minutes. Focus on scenes where people speak directly to the camera, celebrate an event, or share a laugh. A two-minute clip of a grandparent preparing a holiday meal is much more enjoyable than an hour of blurry footage of the dining room wall.
Share the clips with family
A two-minute video file is small enough to text to a group chat, attach to an email, or upload to a shared family photo album. Sending an unexpected short clip on a weekday morning is a wonderful way to reconnect. Your brother might laugh at his old haircut, or your mother might recognize a house the family left thirty years ago.
If you have a major milestone coming up, such as an anniversary or a retirement, these short video clips make incredible centerpieces for gifts. You can load a set of organized, trimmed clips onto a tablet for an older relative who might struggle with raw folders on a computer.
Turn your clips into a film
Once you have found your favorite clips, you can weave them together with old photographs to tell a complete story. Adding music and clear title cards turns raw home video into a real celebration for a party or memorial. Linof creates a short, music-backed film from your family photos and video clips, repairing old images and turning still pictures into short moving shots, with your first photo animation free.
If an event is coming soon, you can consult our advice on choosing photos and videos to help narrow down which clips fit best into a short presentation.
What to do with the physical cassettes
Once your files are verified and backed up across three different locations, you face the question of the physical tapes. Tape ribbon degrades over decades as moisture breaks down the magnetic layer. Once transferred, the tapes themselves are no longer your primary archive.
If you have sentimental feelings about the cassettes or original handwritten labels, store them together in a clean, airtight container away from heat, dampness, and strong magnets. If the tapes are broken, moldy, or taking up needed storage room, you can responsibly recycle the plastic casings through specialized electronics recycling centers. Your memories no longer live on that delicate tape ribbon. They are secure on your drives, ready to be watched, edited, and passed along.
Questions
Should I keep my old VHS tapes after digitizing them?
You do not need to keep the tapes once you have verified that your digital files play smoothly and are backed up in three separate places. If you keep them for sentimental reasons, store them in a cool, dry room away from direct heat and moisture. Otherwise, you can recycle the plastic cassettes through an electronics recycling facility.
What is the best format to save digitized home videos in?
MP4 with the H.264 video codec is the standard format for home videos. It plays reliably on almost every modern device, including phones, tablets, smart TVs, and computers. It also keeps file sizes manageable while preserving the full visual quality of the original tape.
How much hard drive space do digitized tapes need?
A standard two-hour video tape converted to an MP4 file typically uses between two and four gigabytes of storage. If you have twenty tapes, plan for at least eighty to one hundred gigabytes of free drive space to store and edit your collection comfortably.
Written by
Rebecca Lee