How to preserve family memories for the next generation
Save fragile tapes and fading albums, attach names and stories, and make a short film your family will actually sit down and watch together.
Raya Deutsch · 1 October 2026 · 5 min read
To preserve family memories for the next generation, you need to save the physical media before it degrades, record the stories behind the pictures, and put the highlights into something people will actually watch. A hard drive packed with thousands of unlabelled scans is just digital clutter. True preservation means your children and grandchildren recognize who they are looking at and feel connected to them.
Here is how to take a box of old prints, reels, and camcorder tapes and turn them into an enduring family archive.
Sort by what is actively degrading
Opening an attic closet filled with unmarked plastic tubs and shoeboxes can feel paralyzing. Do not try to scan everything in a single weekend. Your first task is rescuing the formats that decay the fastest.
Magnetic video tapes are on a strict clock. VHS, Video8, Hi8, and MiniDV tapes lose magnetic charge every year. The binder holding the magnetic particles to the plastic ribbon weakens, and sticky shed syndrome can make the tape unplayable. Pull out your video tapes and camcorder cassettes first.
Next, rescue prints trapped in magnetic albums. Popular throughout the 1970s and 1980s, these albums used sticky adhesive lines covered by clear plastic sheets. The glue is highly acidic. Over time, it turns yellow, dries out, and bonds permanently to the photo backing, bleaching the image. Gently ease photos off those pages. If an image is stuck tight, do not rip it; photograph or scan it right through the clear sheet.
Color photographic prints from forty years ago also fade rapidly, frequently drifting into a reddish or yellow tone. Black-and-white prints and film reels last longer when stored cool and dry, so place them in your second wave.
Curate before you scan
Preservation requires editing. If you pass down twenty thousand uncurated images, nobody will open the folder. Curation protects future viewers from feeling overwhelmed.
Sort through your priority pile and make quick decisions:
- Toss blurry outtakes, accidental floor shots, and duplicate prints.
- Keep the landmark days, such as weddings, school milestones, and holiday gatherings.
- Keep the quiet everyday shots. A picture of an old kitchen table, a grandparent working in the garage, or kids playing on the carpet often carries more emotional weight decades later than a formal studio portrait.
- Group items into simple piles: by branch of the family, by decade, or by individual person.
When your sorting is complete, read our guide on how to digitize old home movies to decide whether to buy your own USB capture deck or send tapes out to a lab.
Digitize with care
Whether you scan prints on a flatbed or use a camera scanning rig, keep the raw capture clean.
Scan photographs at a minimum of 600 DPI. That resolution captures the fine silver grain and gives you enough detail to reprint the image or zoom in on background details later. For slides and small film negatives, scan at 2400 DPI or higher.
For videotapes, capture the native signal without applying aggressive digital filters or fake sharpening during the recording stage. Save master copies in uncompressed or high-bitrate digital formats, such as ProRes or high-quality MP4. You want an honest digital copy of the original physical object, flaws included.
Add names and stories while you can
A folder of digitized photos named with random numbers is nearly useless. The memory disappears the moment nobody living knows who is in the picture.
Sit down with an older relative, open a folder of twenty newly scanned photos, and record the conversation on your phone. Do not just ask for names and dates. Ask real questions:
- Where was this house located?
- What made everyone laugh right before the photo was taken?
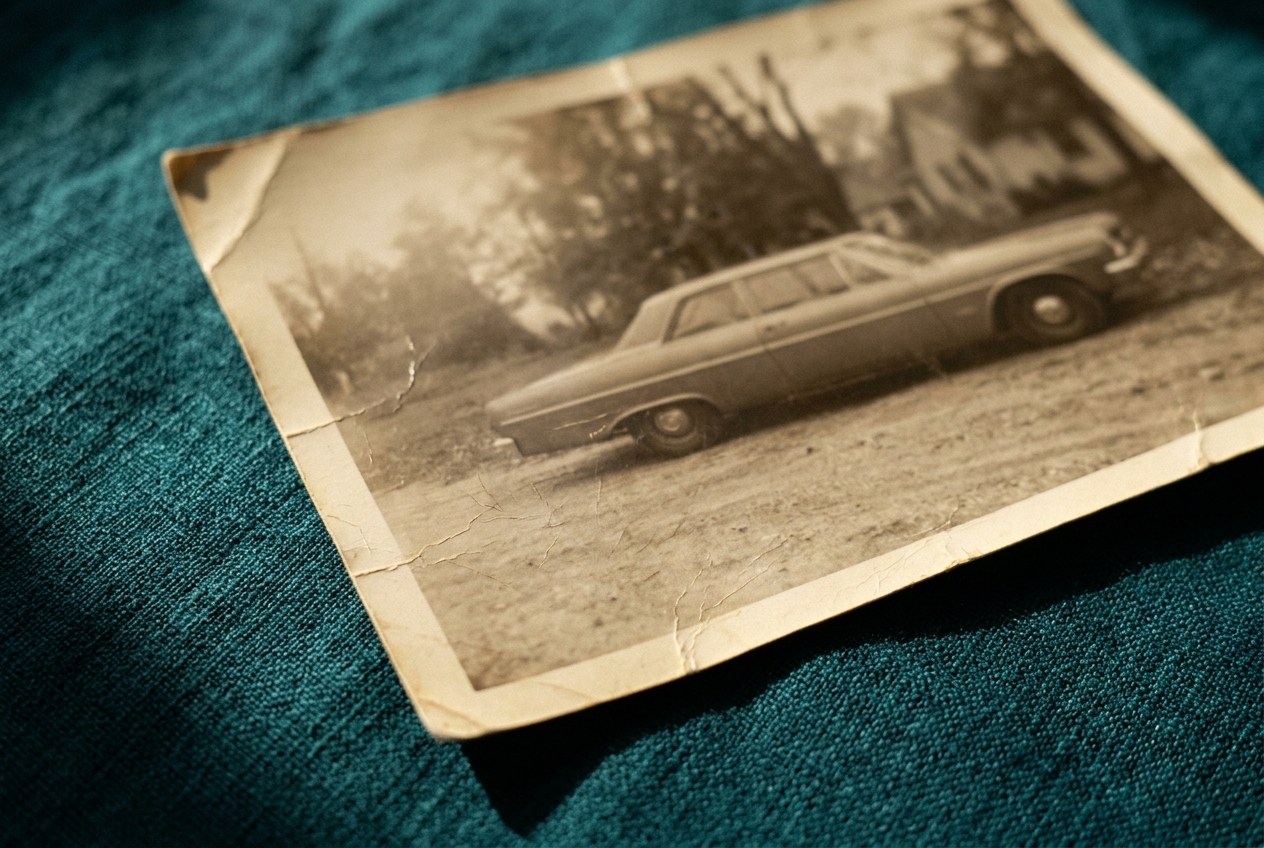
- Who owned that car in the driveway?
- What was a typical Sunday like back then?
Take the answers and rename the digital files immediately. A file named "1965-Ruth-and-David-wedding-day-Chicago.jpg" tells a clear story to anyone who finds it on a drive fifty years from now. For deeper ideas on what to ask during these sessions, look over our list of questions to ask grandparents.
Protect physical originals in proper storage
Digitizing does not mean you have to throw away the original prints and reels. Physical items possess texture, handwritten notes on the back, and historical presence that a screen cannot fully replace.
Move everything out of damp basements and uninsulated attics. Basements invite mildew and water damage, while attics subject prints and tapes to extreme heat swings that warp plastic and crack photo emulsions. Place your originals in acid-free archival storage boxes, kept in a dark closet on the main floor of your home where temperatures stay relatively stable. Store video tapes standing vertically on edge, like books, rather than lying flat in stacks.
Set up a triple backup system
Hardware will always fail eventually. Phones break, external drives suffer mechanical issues, and cloud services change terms. If your digital memories exist in only one spot, they are at risk.
Use the standard three-tier backup rule:
- Keep your working digital files on your computer's main storage.
- Back up that entire collection to an external hard drive stored on your desk.
- Keep a third copy offsite, either by using an encrypted cloud backup provider or by keeping a second external drive at a relative's house.
Check your drives once a year to confirm they still mount properly, and update your copies whenever you digitize a new box.
Turn raw files into something to share
Preservation fails if nobody ever looks at the files. A five-hundred-gigabyte folder of unedited vacation clips from 1993 will sit untouched on a hard drive forever. Families want a story they can experience together during a dinner, a reunion, or an anniversary.
Linof turns your family photos and home videos into a short film with music and titles, and the first animation is free so you can see a still picture move before deciding on the rest. Bringing a restored moment to life on a living room screen lets three generations share the same feeling at once.
If you want to create a film for an upcoming milestone, our guide on choosing photos and videos helps you select the right balance of old and new moments to hold everyone's attention.
Start with one single container
The reason most families lose their archives is not a sudden flood, but waiting for the ideal weekend to do everything at once. You do not need two uninterrupted weeks to preserve your heritage.
Find one shoebox of loose pictures or a single plastic bag of camcorder tapes. Put it on the kitchen table this Saturday. Sort that one box, get those photos scanned, and write down the names on the back. Once you hold those first files safely in your hands, the rest of the project becomes much easier to finish.
Questions
What is the best format for archiving digitized family photos?
Save your master scans as uncompressed TIFF files or high-quality PNGs to preserve maximum image data without compression artifacts. For day-to-day sharing and viewing on mobile devices or online, export smaller JPEG copies.
Should I throw away original tapes and prints after digitizing them?
Keep your original photographs, film reels, and important tapes if you have dry, temperature-controlled space. Digital files can become corrupted or accidentally deleted, so the physical original remains your ultimate backup copy.
How can I identify people in old family photos if my relatives are gone?
Check the backs of duplicate prints for handwritten names or dates, and compare unknown faces against labeled photos using clothing, approximate ages, and recognizable jewelry. You can also share the pictures in private family social media groups or genealogy forums where extended cousins might recognize the setting.
Written by
Raya Deutsch