How the family photo changed, from tintype to camera phone
Family photography shifted from rare, stiff studio portraits to thousands of digital snapshots in every pocket. Here is how each era changed the way we remember.
Yarden Cohen · 1 October 2026 · 5 min read

The family photo changed from a stiff, rare studio appointment into an instant habit carried in our pockets. In the nineteenth century, a family might own only two portraits across a lifetime, while today a single smartphone holds thousands of candid moments. Understanding how formats changed over time helps you date old pictures, organize scattered boxes, and choose the right shots for family celebrations.
The early days of standing still
In the middle of the nineteenth century, getting a portrait made was a serious, costly event. You did not step into the garden for a quick snapshot. You dressed in your formal clothes, travelled to a commercial studio, and followed strict instructions from a professional operator.
Early formats such as daguerreotypes, ambrotypes, and tintypes required strong daylight and long exposure times. Sitting completely motionless for ten to twenty seconds was difficult, especially for young children. Studios used cast iron head rests and hidden neck braces to keep sitters steady. This practical need explains why nobody smiled in old photos: holding an unmoving, neutral expression was the only way to avoid a blurry face.
Because of the expense, these pictures marked major milestones: marriages, departures for long journeys, or memorial portraits. The images lived on silvered copper plates, glass, or thin sheets of iron tucked into velvet-lined cases. They were treated like family heirlooms rather than everyday paper keepsakes.
The paper print and the cabinet card
By the late nineteenth century, photographers moved from individual metal plates to glass negatives that could produce multiple paper prints. This shift created two popular formats that still fill antique albums:
- Cartes de visite: Small paper photographs mounted on cardboard cards, roughly the size of a modern business card. Relatives collected and traded them in specialized album books.
- Cabinet cards: Larger cardboard-mounted portraits, usually measuring about four by six inches, designed to sit on parlour cabinets and fireplace mantels.
These prints carried the photographer's studio name and city stamped in gold or black lettering across the bottom margin. Even though cameras still stayed mostly in professional studios, families could now purchase multiple copies to mail to distant relatives.
The snapshot arrives in the home
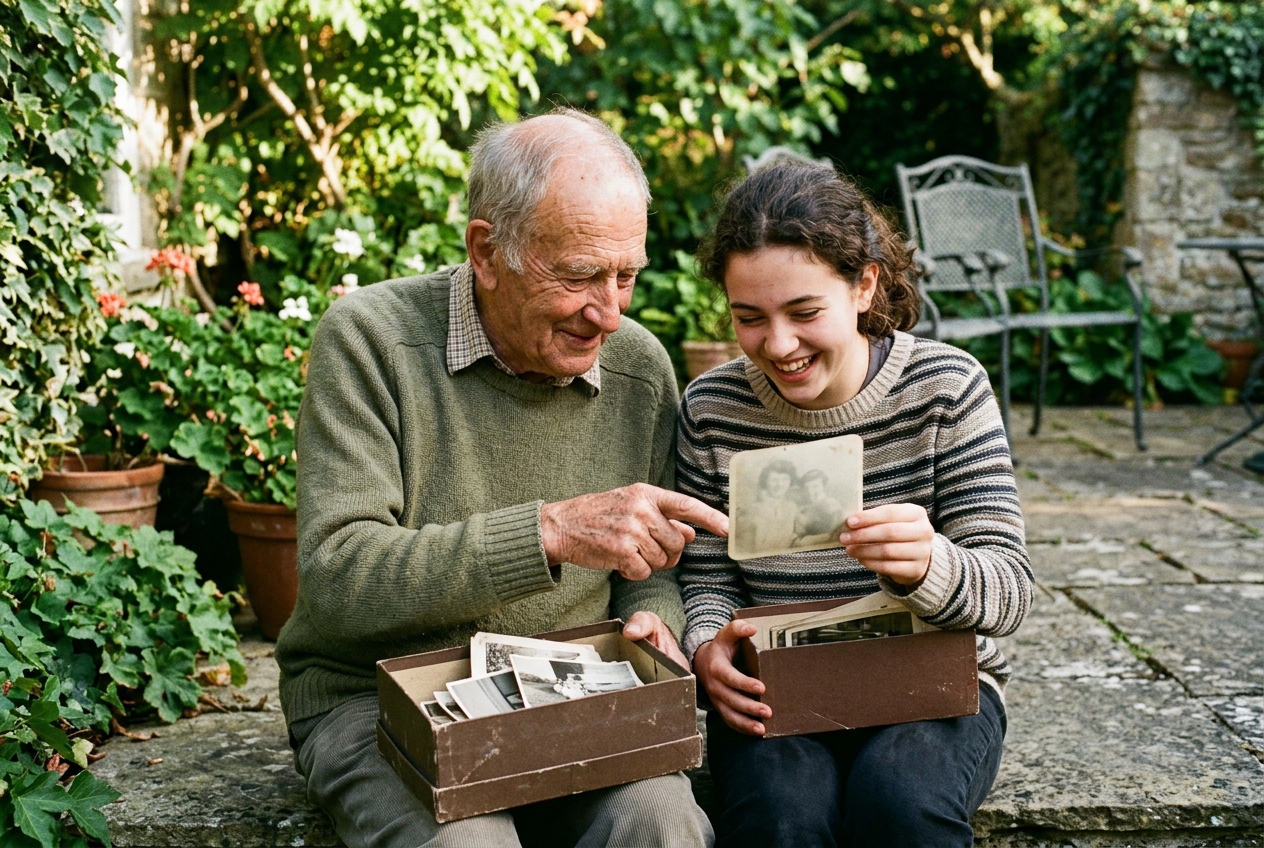
Around the turn of the twentieth century, photography left the studio and entered daily family life. The arrival of affordable roll film cameras removed the need for glass plates and chemical darkrooms in the home. A family could carry a lightweight box camera outdoors, press the shutter, and mail the entire roll or camera to a lab for development.
This change created the snapshot. Suddenly, family photos showed everyday life: dogs playing in the grass, messy birthday picnics, and laundry hanging on clotheslines. Because shutter speeds had become much faster, people started laughing and moving naturally in front of the lens. You can see how this changed the way albums were kept in our guide to the history of the family photo album.
The golden era of color and instant prints
During the middle of the twentieth century, color film replaced black and white as the standard for family life. Cameras became smaller, lighter, and simpler to load.
Three distinct formats defined this era:
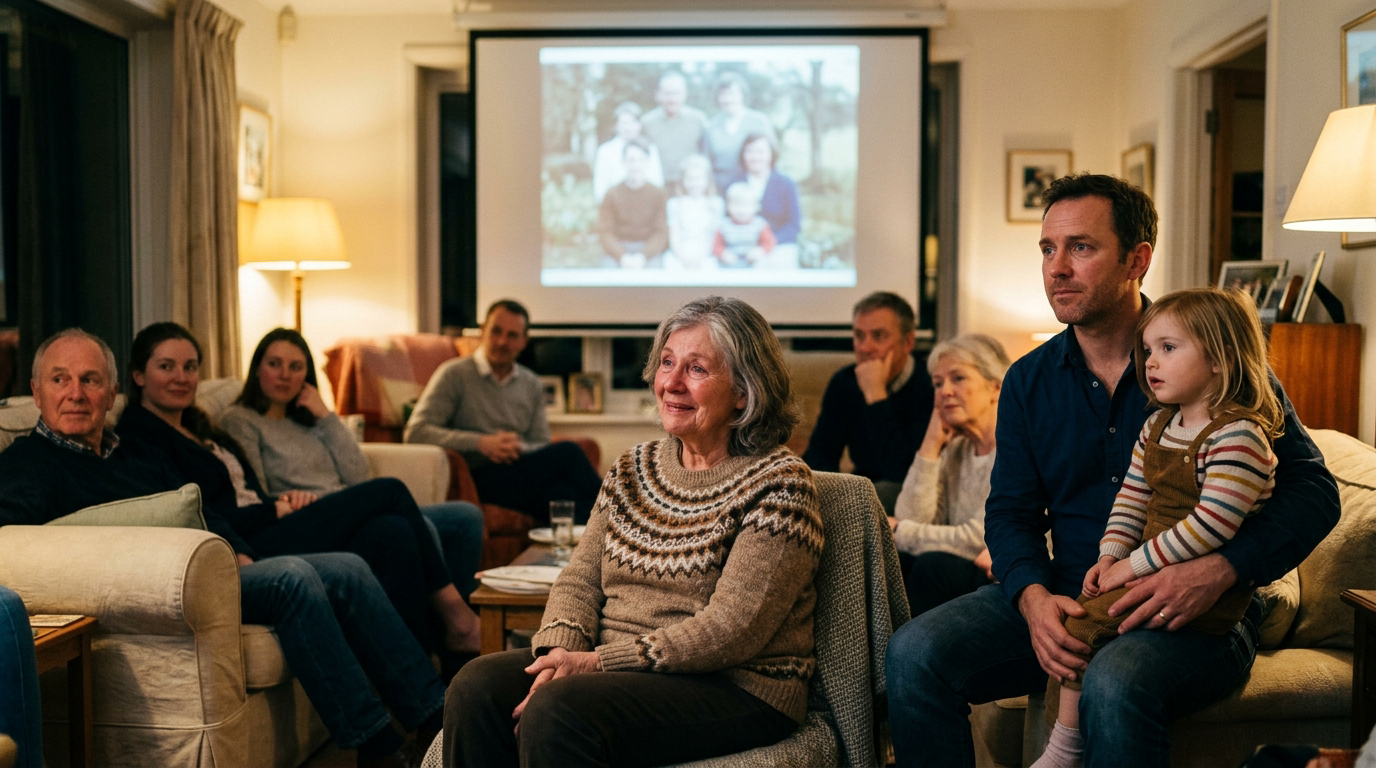
- Slide film: Positive transparencies mounted in two-inch cardboard squares. Families loaded them into circular carousels to project vibrant scenes onto living room walls.
- Cartridge cameras: Simple point-and-shoot plastic bodies using drop-in film cartridges, paired with rotating four-sided flashcubes that allowed indoor holiday photos.
- Instant prints: Self-developing square prints with thick white borders that developed within minutes after leaving the camera.
These physical prints filled sticky magnetic photo albums and decorative tins. Over decades, the chemical dyes in these prints began to shift, often leaving 1970s and 1980s prints with a heavy orange or magenta cast.
The digital turn and the smartphone
By the late 1990s, early digital cameras replaced film for home use. They recorded pictures onto memory cards, allowing parents to review images on an LCD screen and delete bad shots immediately without paying development fees. Families saved these files onto compact discs and desktop hard drives.
The real turning point came with the modern camera phone. When high-resolution cameras became part of the phone everyone carried in their pocket, the volume of photos grew exponentially. We went from taking twenty-four exposures during a summer holiday to snapping dozens of pictures in an ordinary afternoon. The physical problem of storing bulky photo albums turned into a digital problem: thousands of unorganized files spread across phones, old hard drives, and cloud backups.
How to sort family photos across different eras
When you inherit an unorganized collection with tintypes, color slides, and loose prints mixed together, sorting can feel overwhelming. You can bring order to the pile by working format by format instead of trying to build a strict chronological order on day one.
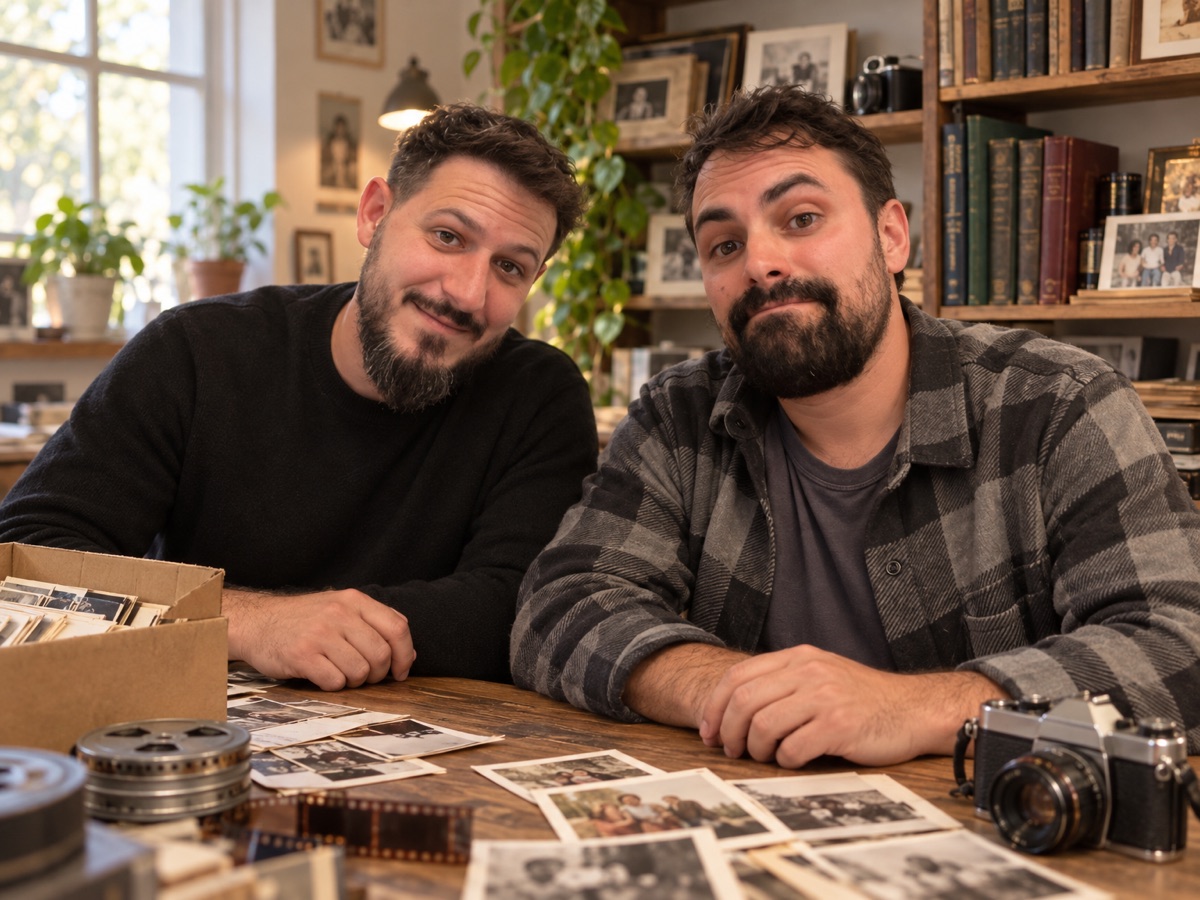
- Group by format first: Clear a clean surface. Place all metal and glass cased portraits together, stack loose black and white paper prints in another pile, gather color slides in boxes, and set loose color prints aside.
- Separate by decade markers: Look for physical clues. Scalloped edges, square formats, and faded paper borders usually point to the 1960s or 1970s. Black and white cards with studio stamps belong to the nineteenth or early twentieth century.
- Label storage envelopes: Place sorted eras into acid-free paper envelopes or archival storage boxes. Write the family branch and approximate decade on the envelope with a soft pencil.
- Pick the standouts: You do not need to scan every blurry print. Pick the clearest shots that show key relationships, milestone birthdays, and meaningful places.
If you are gathering these scanned memories for an upcoming celebration, Linof turns a family's photos and videos into a short film with music, titles, and moving shots: the first animation is free so you can see it before deciding on the rest. Bringing these different eras together helps younger guests connect with relatives they may never have met in person.
Caring for old prints and digital files
Every format of family photography carries its own preservation risks. Metal plates can tarnish if exposed to moisture, color prints fade when exposed to household light, and digital hard drives eventually fail without warning.
Keep physical prints in cool, dry rooms away from attics or basements, where swings in humidity warp paper and encourage mold growth. Never use rubber bands, paper clips, or magnetic adhesive albums, which eat away at emulsion over time.
For digital files and scans, follow the 3-2-1 backup rule for family photos. Keep three total copies of your files on two different media types, such as an external drive and your computer, with one copy safely offsite in cloud storage. Whether an image was captured on a sheet of iron in 1860 or on a smartphone yesterday, preserving it properly keeps the family story alive for the next generation.
Questions
How can I tell the difference between a daguerreotype and a tintype?
A daguerreotype is made on a silver-plated copper sheet with a mirror-like shine that changes from positive to negative when tilted in the light. A tintype is made on a thin sheet of dark iron and is noticeably magnetic. Daguerreotypes almost always sit in protective hinged cases under glass, while tintypes were often kept loose or slipped into simple paper sleeves.
Why do color prints from the 1970s and 1980s turn orange or pink?
Color prints from that era were made using cyan, magenta, and yellow organic chemical dyes. Over time, cyan and yellow dyes break down faster than magenta, especially when exposed to light or warm room temperatures. As those colors fade away, the resilient reddish-magenta dye is left behind, giving the entire photo a distinctive reddish tint.
What is the best way to handle very old nineteenth-century photographs?
Hold old photographs by their cardboard edges, wearing clean cotton gloves if possible to prevent skin oils from staining the emulsion. Keep them flat in acid-free paper folders rather than plastic sleeves, which can trap damaging humidity. Store the folders in an interior room where temperature and humidity stay steady year-round.
Written by
Yarden Cohen