How to digitize 16mm film
Learn how to convert 16mm film reels to modern digital video, inspect aging reels for damage, and turn raw footage into movies your family will actually watch.
Dan Warner · 1 October 2026 · 5 min read
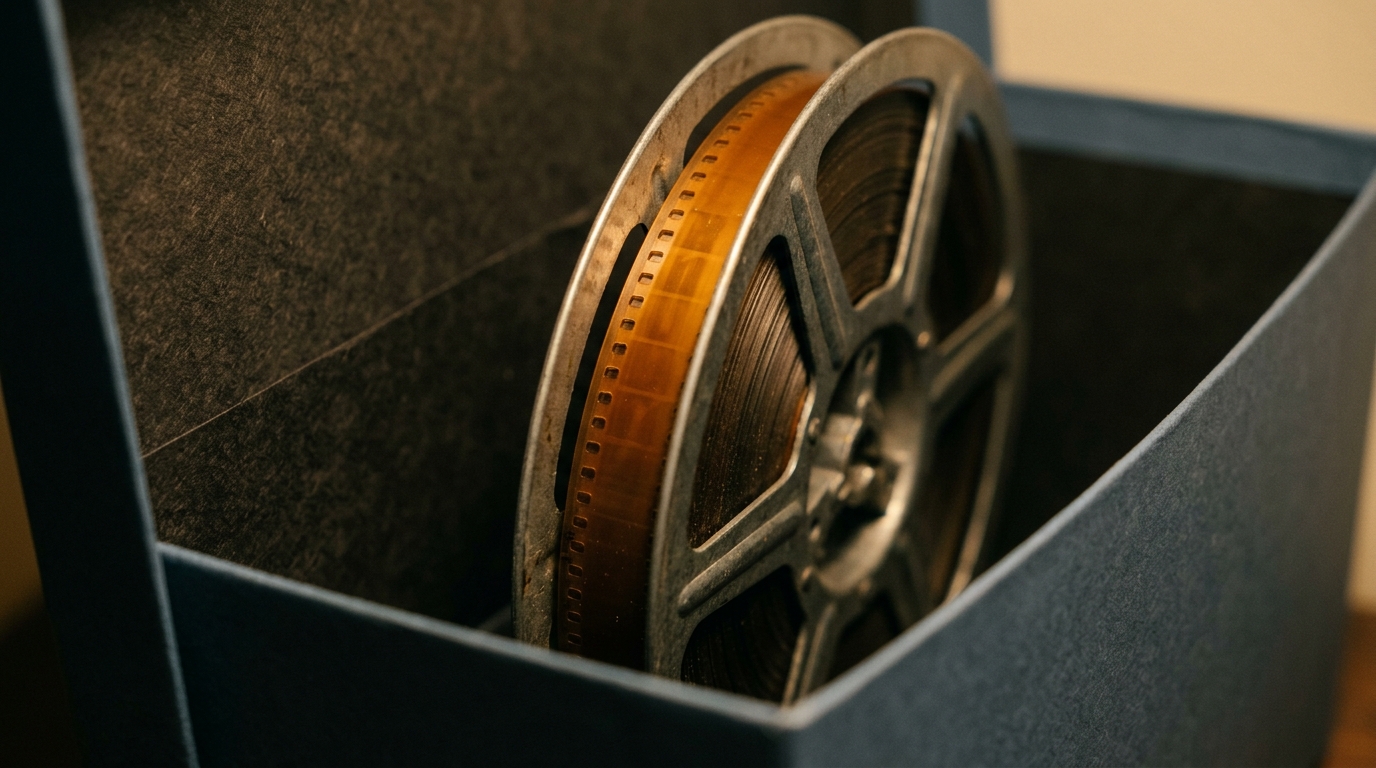
To digitize 16mm film, you either scan the reels yourself with a dedicated desktop frame scanner or send them to a professional transfer lab. The best route depends on how many reels you have, whether the film has an audio track, and whether the celluloid is starting to degrade. Inspecting your reels first ensures you choose the safest path for your family archive.
Before camcorders or compact home formats existed, 16mm film was the standard gauge for home moviemakers, local news, and school projects. Because a 16mm frame is roughly four times larger than regular 8mm film, the footage carries exceptional detail and rich color when converted properly.
Checking your film before you start
Take the reels out of storage and verify what you are holding. A standard ruler will confirm the width across the celluloid strip is exactly 16 millimeters. If your film is half that width, explore our guide on how to digitize Super 8 film instead.
Inspect the edges of the strip. Standard silent home reels usually have rectangular sprocket holes on both edges. If your film has sprocket holes on one edge and a faint gray or bronze band running along the other, your reel contains an optical or magnetic soundtrack. Capturing that sound requires equipment capable of reading audio along with the visual frames.
Handling and chemical smell
Handle old reels by the edges or wear clean white cotton gloves to keep skin oils off the film. Gently unwind the first foot of leader tape to check for flexibility. If the film feels stiff or brittle, do not force it around a tight bend.
Pay close attention to scent. If opening a metal canister releases a sharp, sour smell like vinegar, the acetate base has begun breaking down chemically. Film with advanced vinegar syndrome becomes brittle, warps, and shrinks over time. Reels with this smell need immediate conversion before the physical frames curl too tightly to scan.
Choosing between DIY scanning and a professional lab
Both paths can protect your family history, but they demand different investments of time and care.
Scanning at home
Home scanning machines pull the film slowly over a light source while an internal digital sensor captures each frame individually. Software then compiles these still frames into a single continuous video file.
- Pros: You keep physical control of your original reels at home, and you can scan at your own pace whenever you have a quiet evening.
- Cons: Desktop machines run slowly, meaning each reel requires dedicated monitoring. Most consumer machines cannot read magnetic or optical sound stripes, leaving audio reels silent unless you purchase specialized equipment.
Sending reels to a specialized lab
Commercial transfer labs use high-end film scanners that rely on roller transports rather than mechanical claw teeth, which prevents tearing delicate sprocket holes. Professional technicians also clean away surface grime, replace broken tape splices, and digitize synchronized sound stripes alongside the video.
If you have fragile reels, sound tracks, or only a handful of family movies, handing the work to a lab eliminates technical headaches and avoids unnecessary wear on aging celluloid.
Preparing and cleaning your reels
Clean film produces clearer digital scans and protects equipment from dust buildup. Follow these straightforward steps to prepare your footage:
- Check the splices. Old cement or tape splices often dry out. Gently tug across splices to confirm they will hold under light tension. Rejoin separated sections using archival film splicing tape.
- Clean off dust. Wind the film slowly between two manual rewinds while running the strip through a folded microfiber cloth dampened with dedicated film cleaner. Never use water or household glass cleaners, which ruin the emulsion layer.
- Add fresh leader. Attach a few feet of fresh white leader film to the beginning and end of each reel. This protects the actual picture frames when threading scanners or projectors.
What digital scanning can and cannot fix
Digitizing creates a digital preservation copy of your physical celluloid as it looks today. It captures the natural grain, warm color palette, and character of original analog film stocks.
Scanning cannot reconstruct areas ruined by heavy light leaks or deep gouges in the emulsion layer. If colors have shifted toward a red or magenta cast over forty years of warm attic storage, basic color correction can rebalance the tone, but severe fading will still show. Approaching the project as a preservation effort rather than seeking impossible flawlessness keeps expectations grounded.
Turning raw scans into stories
Digitizing is only the first part of the job. Once your reels become video files on a hard drive, you will face hours of unedited, silent footage. Watching unbroken reels of distant scenery or unfocused backyard games can test anyone's patience.
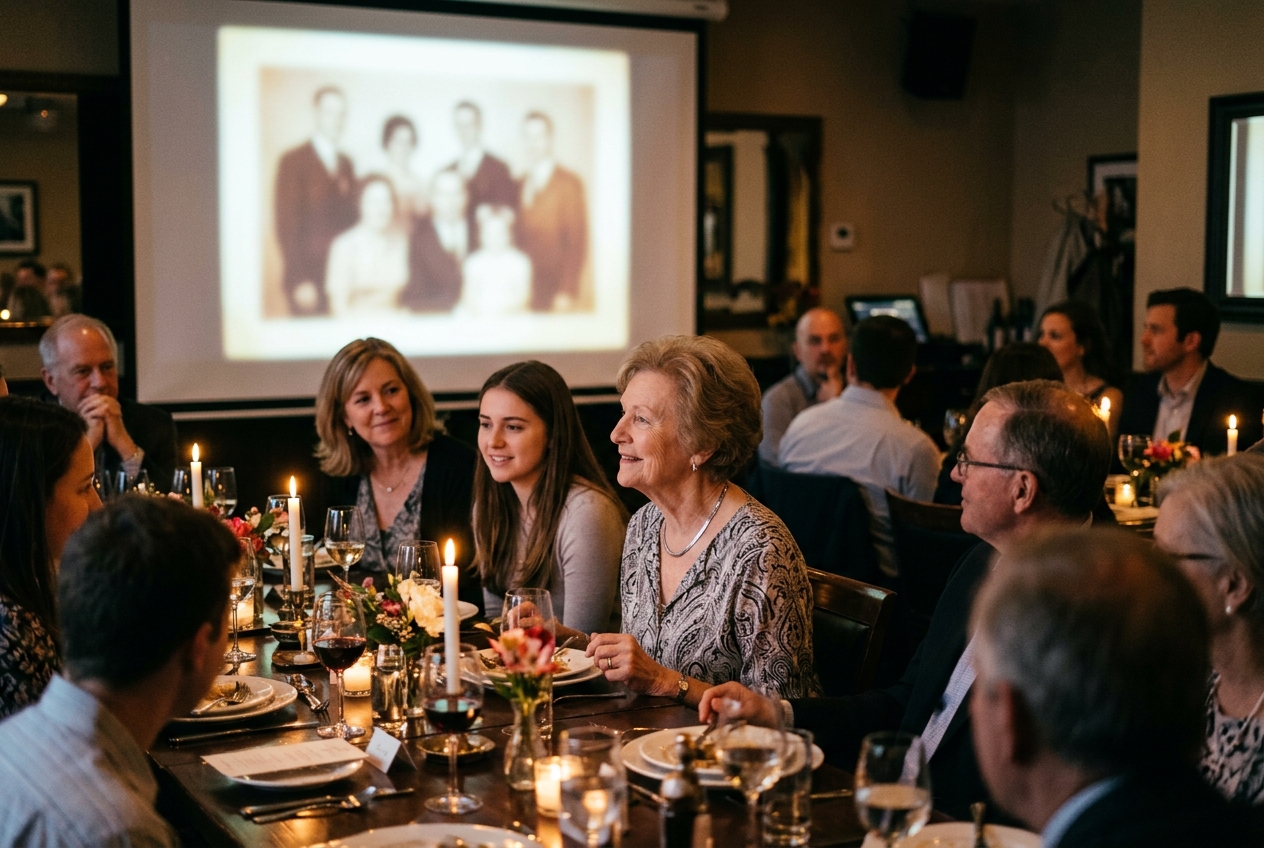
The real joy comes when you select the most meaningful scenes for a family celebration or memorial. Linof repairs old photos, brings their color back, and turns them into moving shots that blend into short films for birthdays, anniversaries, and tributes, with the first animation free. Combining these restored photos with short video clips from your 16mm reels helps everyone connect with family members who appear on screen.
Curating footage into concise chapters makes the memories accessible. If you want to build a narrative for a specific event, our guide on choosing photos and videos for your film outlines how to highlight the faces and moments that matter most.
Storing your physical reels after scanning
Never throw away original 16mm film after receiving your digital files. Hard drives fail, file formats evolve, and physical film remains your ultimate analog backup.
- Replace rusted cans with vented archival polypropylene containers that let chemical gasses escape.
- Store the containers flat on a shelf rather than stacked upright like books.
- Keep them in an interior room with steady temperature and low humidity, away from attics, garages, or damp basements.
Once your footage is digitized and safely backed up, share the highlights with your family. Seeing decades-old moments move with natural rhythm brings parents, grandparents, and forgotten celebrations right back into your living room.
Questions
How can I tell if my 16mm film has an audio track?
Examine the edges of the film strip under a steady light. Silent film features sprocket holes along both outer edges, while sound film has sprocket holes on one side and a thin brown magnetic band or variable optical line on the other edge.
Does vinegar syndrome mean my film is ruined?
A vinegar smell indicates that the acetate base is actively degrading, but the film is not immediately lost. As long as the celluloid has not buckled or crystallized, it can still be carefully scanned by a lab before shrinkage makes playback impossible.
What resolution should I request when digitizing 16mm reels?
Standard high definition or 2K captures most 16mm home footage well, though 4K scans reveal the finest emulsion grain and subtle facial details. Because 16mm frames hold substantially more detail than 8mm, higher scanning resolutions provide noticeable benefits.
Written by
Dan Warner