How to convert Hi8 and Video8 tapes to digital
A practical guide to transferring your family memories off old 8mm camcorder cassettes onto a hard drive, whether at your kitchen table or with a lab.
Dan Warner · 1 October 2026 · 6 min read

To convert Hi8 and Video8 tapes to digital, you need a working camcorder or tape deck, an analog-to-digital USB capture adapter, and a computer. You connect the camera outputs to the capture adapter, run standard recording software on your computer, and press play on the camera to capture the video in real time. If tracking down working hardware sounds daunting, you can hand the tapes to a professional transfer lab instead.
Understanding the three 8mm tape formats
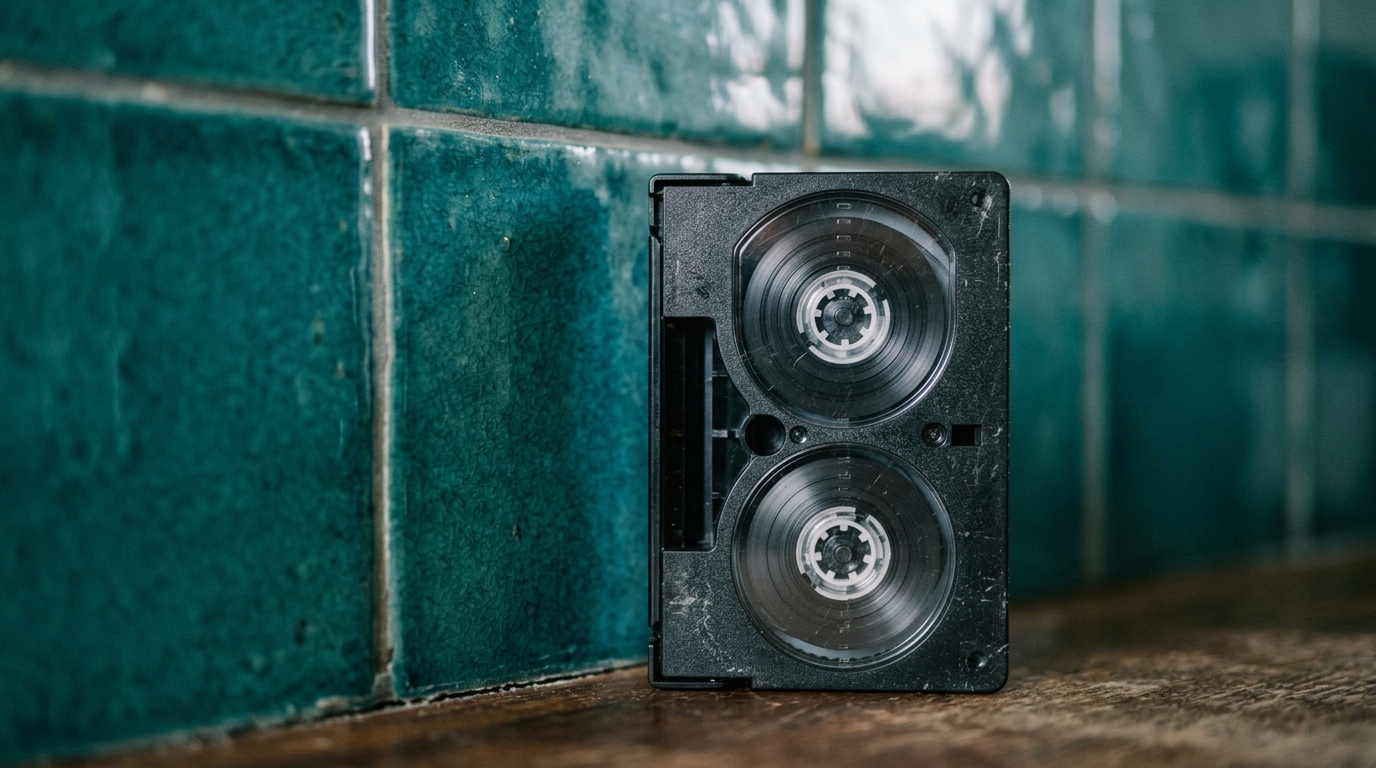
Before you gather cords and adapters, check the exact tapes in your box. The 8mm video family came in three distinct varieties over roughly two decades. Every tape shares the exact same physical cassette dimensions, which causes plenty of confusion when you pull them out of storage.
- Video8: Introduced first, this is a standard analog recording format. It holds standard definition analog video and basic audio tracks.
- Hi8: Released later as an upgraded analog format. It delivers a noticeably sharper image with better brightness separation, while still using an analog signal.
- Digital8: Arrived in the late 1990s. It looks identical from the outside, but it records digital data onto the 8mm magnetic tape ribbon instead of an analog waveform.
Check the stamped markings on the cassette shell. You will usually find the Video8, Hi8, or Digital8 emblem molded directly into the plastic casing. Matching your playback hardware to your cassette is essential. A Digital8 camcorder can often read older analog Video8 and Hi8 tapes, but an older Video8 camera can never decipher a Digital8 recording.
Sourcing working playback gear
The biggest hurdle for home transfer is finding a working machine. Camcorders from this era are delicate machines full of miniature rubber belts, plastic gears, and aging electronic capacitors. Even cameras stored safely in a clean closet often refuse to power on, chew through tape ribbons, or produce garbled sound.
If your family camcorder still runs smoothly, you have solved the hardest part. If it does not, you have a few options:
- Borrow a working unit from a relative or neighbor who keeps vintage electronics.
- Search local online listings or secondhand shops for a verified, working model.
- Pick up a dedicated 8mm video cassette deck, though these standalone decks were built for professional editing suites and can be costly.
Look for a camcorder that includes an S-Video port on the body. While standard composite video uses a single yellow plug, S-Video splits the brightness and color signals into separate channels. This simple hardware difference results in cleaner lines and less color bleeding in your final digital file.

The equipment you will need at home
Setting up your workstation requires a few core pieces of hardware. The overall workflow is very similar to what you would use to convert VHS tapes to digital.
- A playback camera or deck: Ensure the power adapter is plugged into the wall rather than relying on an aging battery pack.
- RCA audio and video cables: You need the standard red and white plugs for stereo sound, and either the yellow composite plug or an S-Video cable for picture.
- A USB video capture card: These small dongles take the analog RCA or S-Video feed and convert it into a digital data stream for your computer.
- A computer with ample storage space: Video files consume significant disk space quickly, so check that you have plenty of room before you begin.
- Capture software: Many capture devices come with their own utility, or you can use open source tools that record live video inputs.
Preparing old tapes before playback
Never pull a cassette that has rested in a garage or attic for twenty years and immediately press play. Magnetic tape ribbons can become sticky over decades of humidity and temperature swings, which risks snapping the delicate brown ribbon inside the camera mechanism.
Begin with a gentle inspection. Slide open the spring-loaded plastic tape door. Look closely at the spools for white powder or fuzzy spots, which signal mold. If you spot mold, do not put that cassette into a working camera. The mold will coat the tiny spinning video heads and ruin your equipment. Moldy tapes require careful physical cleaning before any playback.
If the ribbon looks clean and flat, perform a tension pack pass. Insert the cassette into your camera, fast forward completely to the end without entering play mode, and then rewind it fully back to the beginning. This process loosens tightly bound tape layers, redistributes tension across the internal spools, and helps prevent tape jams.
Capturing the video step by step
Once your gear is assembled and your tape is rewound, the transfer process is straightforward.
- Connect your RCA audio cords and S-Video cable to the camera outputs, then plug the other ends into your USB capture card.
- Insert the capture card into an active USB port on your computer.
- Open your capture software and select your USB device as both the video and audio input source.
- Switch the camcorder power button to the playback setting, usually labeled VCR or VTR.
- Press play on the camcorder. You should see moving footage and hear clear audio in your software preview window.
- Adjust your audio input levels so dialogue remains clear without clipping into distortion.
- Rewind the tape back to the opening frames, press record in your software, and hit play on the camera.
Keep in mind that analog media transfers in real time. A ninety-minute family holiday tape requires exactly ninety minutes of live recording. Stay near your desk during the first few minutes of every tape to confirm the image tracking stays steady and the sound remains synchronized.
Choosing modern digital formats
When your software prompts you for export settings, select MP4 format using the H.264 video codec. This standard ensures your videos open smoothly on contemporary phones, televisions, tablets, and computers without specialized playback tools.
Save the captured files to an internal drive first, then immediately duplicate them onto a second location. Storing all your family files in one spot leaves them vulnerable to drive failure. A solid storage plan keeps your preserved footage safe for decades.
When to choose a transfer service
Transferring dozens of cassettes at home demands substantial time and patience. If your camcorder is broken, buying another used camera alongside capture adapters can cost as much as handing the box to a specialized lab. Deciding whether to digitize tapes yourself or use a service comes down to how many hours you have to spare and the physical condition of your tapes.
Professional facilities maintain commercial-grade playback decks with built-in time base correctors. These specialized units stabilize weak analog signals and clean up jittery vertical lines far better than entry-level USB adapters. If you have fragile ribbons, warped tape shells, or simply lack the time to run hours of real-time playback, a lab removes the technical friction completely.
Turning old home videos into an event film
Preserving raw tapes onto an external hard drive gives everyone peace of mind, but raw home video rarely gets watched on its own. Most family recordings contain long stretches of shaky grass, accidental floor footage, and quiet pauses between special moments. When an anniversary dinner or milestone birthday arrives, nobody wants to sift through forty hours of unedited clips.
Linof helps you turn those converted video clips and old family photos into a finished tribute film with music and personal titles for an event, and your first photo animation is free. It creates a focused short movie that fits the mood of the room, making it easy to bring highlights from your 8mm tapes back to the family screen.
Once your tapes are converted, look through the clips and mark the standout scenes: your sister blowing out birthday candles, a grandparents' anniversary dance, or quiet jokes on a sunny porch. You can read our guide on choosing photos and videos for your film to pick the moments that will move the room. Taking the time to convert those plastic cassettes now ensures those voices and laughs remain ready to share for the next generation.
Questions
Can I play a Hi8 or Video8 tape in a regular VHS VCR?
No, 8mm tapes cannot be played in a VHS machine, and cassette adapters do not exist for them. The physical tape ribbon inside is only 8mm wide, which is incompatible with standard VHS playback heads. You must use a working 8mm camcorder, a dedicated deck, or a digitization service.
What is the difference between Video8, Hi8, and Digital8?
Video8 is the original standard-resolution analog format from the 1980s. Hi8 is an improved analog format with higher horizontal resolution and sharper detail. Digital8 uses the exact same physical tape shell but encodes digital data rather than an analog television signal.
Why does my converted video have jittery lines at the very bottom?
Those moving lines at the bottom edge are called head-switching noise, and they are completely normal for analog camcorder recordings. Vintage tube televisions hid this border within their plastic bezels, but modern computer screens display every single line of the captured frame. You can leave it alone or crop the outer edges using video editing software.
Written by
Dan Warner