How to bring an old photo to life
Learn how to turn still portraits into short moving shots, clean up scans, and pick the right pictures to move a room at your next gathering.
Eden Karpman · 16 November 2026 · 5 min read
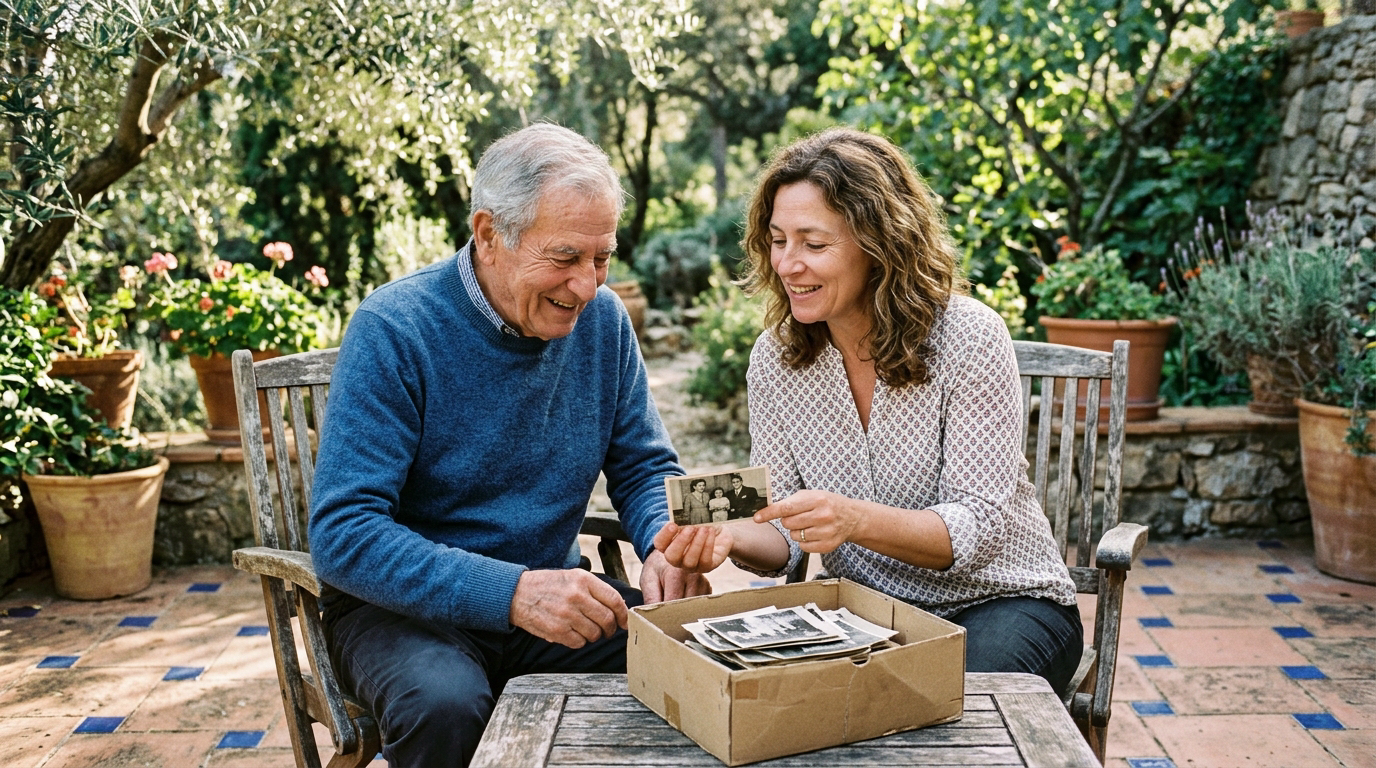
To bring an old photo to life, you turn a still print into a short moving shot where the subject blinks, turns their head, or smiles naturally. You start by getting a sharp digital scan, cleaning up obvious dust, and running the portrait through image animation software. The result is a brief visual moment that bridges past photography with modern film.
Seeing someone from fifty or eighty years ago move, even for three seconds, changes how an audience experiences a story. When you plan a family milestone, a retirement party, or a memorial, those few seconds often command total silence in the room.
Why animating a still picture works so well
Most family archives from before the nineteen-eighties consist solely of still pictures. Film cameras were expensive, heavy, and rare, so most parents and grandparents only exist in still frames.
When you project a sequence of still slides on a wall, an audience looks at the surface of the image. They look at the clothing, the haircut, and the grainy background. When that person turns their head or blinks naturally, the viewer's brain shifts gears instantly. The subject stops feeling like a historical artifact and feels like a person who once stood in a sunny yard waiting for lunch.
This technique works best when used sparingly. If every picture in a presentation moves, the novelty wears off quickly and viewers can feel dizzy. When you place two or three animated shots at key turning points in a film, the emotional impact remains high.
Choose the right photos for animation
Not every old picture animates smoothly. The software relies on clear facial features to map movement correctly. Choosing the right frame saves you time and delivers much better visual results.
Look for clear eye contact and direct angles
Portraits where the person looks toward the lens produce the most natural movement. Three-quarter turns can also work well if both eyes are visible. Avoid steep profile shots where half the face is hidden in heavy shadow, because the software must guess what the far side looks like, which often leads to awkward warping.
Focus on one person at a time
Single portraits give the cleanest result. If you have a group portrait, crop into the person you want to highlight before animating. When a frame contains five or six faces, background figures can shift unpredictably while the main subject moves.
Pick resting expressions
A slight smile, a calm gaze, or a neutral look animates easily into natural motion. Wide open laughs with exposed teeth can sometimes distort around the mouth during a subtle movement. Look for portraits taken in natural daylight or simple studio lighting.
Step by step: prepare and animate your picture
Taking time to prepare your source image makes a massive difference in the final clip. Here is the process that yields dependable results.
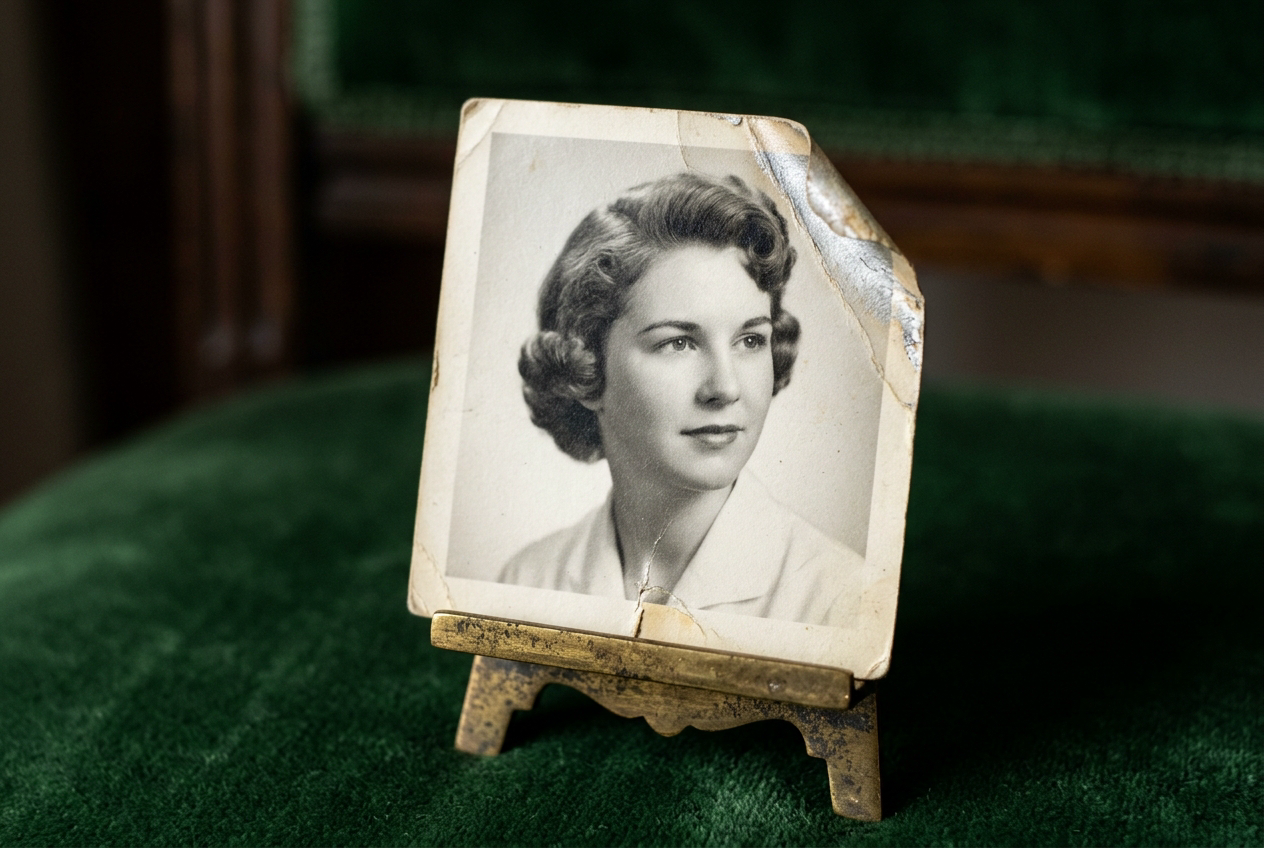
- Scan at high resolution. Do not simply take a quick snapshot of a glossy print with your phone under room lights. Glare across the forehead or cheeks will confuse the motion mapping. Lay the photo flat under indirect daylight, or use a flatbed scanner set to at least 600 DPI. Clean glass ensures no stray dust spots transfer onto the face.
- Repair heavy surface tears. If a scratch runs right through an eye or across the lip line, fix it before animating. You can read our guide on how to restore old family photos to see how simple repairs keep the facial features clear.
- Restore faded tones or color. Faded sepia prints or washed-out early color prints benefit from gentle tone correction. Bringing back contrast helps the software distinguish between skin, hair, and clothing. If you want to take it a step further, you can colorize black and white photos so the moving clip matches modern home video clips seamlessly.
- Generate the short moving shot. Upload the cleaned portrait to an animation tool. Keep the motion subtle: a slow glance, a natural blink, or a gentle tilt of the chin. Huge dramatic movements tend to look unnatural. A quiet two-to-four-second movement is all you need to capture the person's character.
- Save and check the edges. Watch the clip twice on a larger display. Check the collar line, the ears, and the hair against the background. Make sure the background does not swirl or melt as the head turns.
Where to place animated photos in a family film
An animated photograph should never stand completely alone. It works best inside a broader story, surrounded by other family photos, real home video clips, and steady background music.
If you are organizing an event, you likely have a deadline approaching. Finding a way to knit prints, moving clips, and music together without spending weeks editing can feel daunting. With Linof, you can turn your photos and videos into a polished film with music and titles, and your first animation is free to try.
Here are three places where an animated shot makes the deepest impression:
- The opening scene: Starting a film with a young great-grandparent who blinks and looks at the camera instantly sets a thoughtful, cinematic tone.
- The turning point: Moving from childhood prints to adulthood. Animating a high school graduation portrait right before showing wedding photographs signals a major chapter change.
- A memorial tribute: In a tribute film, showing a late family member looking up with a gentle expression creates a warm, comforting presence for everyone in the room. For more ideas on organizing these moments, review our advice on how to build a memorial film.
Common pitfalls to avoid
Making older photos move requires restraint. Keep these simple rules in mind to avoid common mistakes.
Never force extreme movement
Keep the motion limited to realistic head turns, eye shifts, and breathing movement. Trying to make an old portrait talk, sing, or make broad arm gestures almost always looks strange and distracts from the genuine memory.
Do not over-saturate restored prints
When adding color or boosting contrast prior to animating, keep the palette muted and true to the era. Skin tones should look warm and healthy, not orange or painted. If you need help picking between classic tones and modern treatments, our guide on choosing photos and videos offers clear guidelines for balanced storytelling.
Watch your pacing
Let the audience see the still photo for a second before the movement starts, and hold on the final resting frame for a second after it stops. If the motion starts instantly on a hard cut, people miss the transition. Giving the shot breathing room lets the room absorb who they are seeing.
Bringing old prints into motion is not about replacing history. It is simply a way to clear away the static nature of old paper so you can meet someone's gaze again. When done with care, it turns an ordinary box of forgotten prints into an experience that connects every generation in the room.
Questions
What kind of photos work best to bring an old photo to life?
Portraits with clear lighting, direct eye contact, and both eyes visible produce the most natural results. Photos without heavy shadows across the face or wide open grins animate smoothly without visual distortion.
Do I need to restore or repair my old photo before animating it?
Yes, repairing heavy tears and dust spots across the face beforehand helps the software map facial features accurately. Light tone correction and cleaning up scratches near the eyes will give you a much cleaner moving shot.
How many animated photos should I include in a family event film?
Two or three animated shots placed at meaningful moments usually have the strongest emotional impact on your audience. Using them sparingly preserves their novelty and keeps viewers focused on the overall family story.
Written by
Eden Karpman