How to colorize old black and white photos
Learn how to colorize old black and white photos using automated digital tools or manual painting, clean your scans, and share the results with family.
Dan Warner · 1 October 2026 · 5 min read
To colorize old black and white photos today, you can use automated online tools that add color in moments, or you can paint the tones by hand in an image editor layer by layer. Software gives you quick results across dozens of snapshots, while manual painting gives you complete control over specific details like eye color and fabric shades. Both approaches require a clean digital scan to look natural.
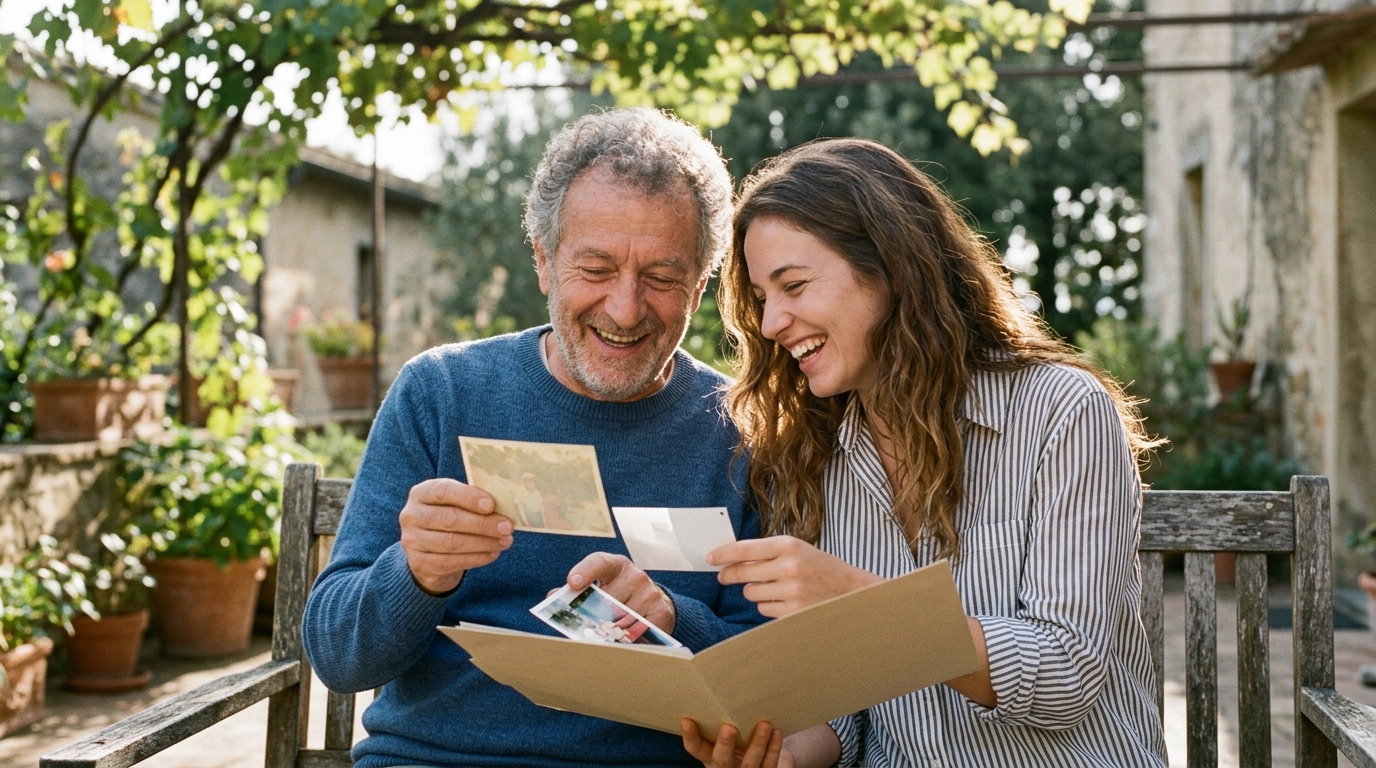
Seeing a grayscale portrait filled with skin tones, hair color, and clothing hues makes the past feel immediate. A great-grandparent who once seemed distant suddenly looks like someone you could meet on the street. Whether you are sorting through a single shoebox or preparing pictures for an upcoming family milestone, here is how to colorize your prints cleanly and keep the originals safe.
Understand what the tools can and cannot do
Before you start, remember that vintage black and white film recorded values of light and darkness, not actual color. When software or an artist colors a photo today, they are making an informed guess based on light contrast and context. It is an interpretation of the past, not a literal document.
Modern automated programs can identify skies, skin, hair, and foliage easily. They tint the sky soft blue and grass natural green. However, an automated tool cannot guess whether your mother's coat was navy or burgundy in 1968. If it picks brown, the portrait will look convincing, but it may not match reality. For that reason, never overwrite your original black and white scans. The original grayscale file remains your true historical record, while the colored picture is a vivid companion to enjoy.
Preparing your photos before adding color
You cannot color a physical photograph safely without risking damage to the print, so your first task is creating a good digital file.
- Scan the print carefully: Use a flatbed scanner rather than a quick phone snapshot whenever possible. Set the scanner to a high resolution so the software has crisp edge details to analyze around eyes, collars, and background objects.
- Clean away physical damage: Dust spots, creases, and water rings will mislead coloring software. A brown stain on a lapel might get colored as an ear, or a crease across a cheek might turn bright red. Take a few minutes to restore old family photos digitally first by removing scratches and blemishes before you introduce color.
- Adjust the contrast: If a vintage photo is muddy or washed out, balance the blacks and whites slightly. Crisp shadows and clear highlights give any coloring tool a solid foundation to work from.
Option one: Automated coloring software
For most people sorting through dozens of pictures, automated tools are the most sensible choice. These web tools and photo applications look at patterns across thousands of reference pictures to recognize faces, clothing, and landscapes, then fill in the colors automatically.
The main benefit is speed. You upload a clean scan, wait a brief moment, and download the finished result. You can process an entire album in an evening.
The trade-off is precision. If the algorithm gives a bride's ivory dress a pale blue cast, you usually cannot change just that dress without extra editing. Some software provides sliders to warm up skin tones or increase vibrancy, but the underlying color choices remain in the hands of the software. For general family snapshots where exact fabric shades do not matter, automated software works remarkably well.
Option two: Manual digital painting
If you want full accuracy, or you want to match a known family heirloom, you will need an image editing application that supports layers. This approach mirrors the historic practice of hand-tinting photographic prints with oils, but you do it digitally.
Here is the step-by-step process:
- Open your black and white scan in your editor.
- Create a new blank layer above the photo and change its blending mode to Color.
- Pick a soft digital brush, select a color, and gently paint over the area you want to tint. The Color blending mode lets the highlights and shadows of the original photo show through your paint strokes, preserving natural texture.
- Use separate layers for skin, eyes, hair, clothing, and background. This allows you to lower the opacity of individual layers if a color feels too strong.
- Layer warm and cool tones on faces. Natural skin is never a single flat hue. Adding faint warmth to cheeks and forehead, with slightly cooler tones in shadows, keeps faces from looking like plastic.
Painting by hand takes patience, but it lets you get the exact shade of a military uniform, a family car, or a childhood dress.
Bringing your restored photos to life
Once your photos are colored, save each one as a new file with a distinct name, such as adding the word colored at the end of the file title. That way, your original scans stay untouched.
Colored photographs carry immense emotional weight when shared with family, especially when you are putting together a tribute for a milestone. Linof turns your family's photos and videos into a short film with music and titles, repairs old pictures, brings back their color, and can animate a still portrait into a short moving shot to show at a celebration, with your first animation free.
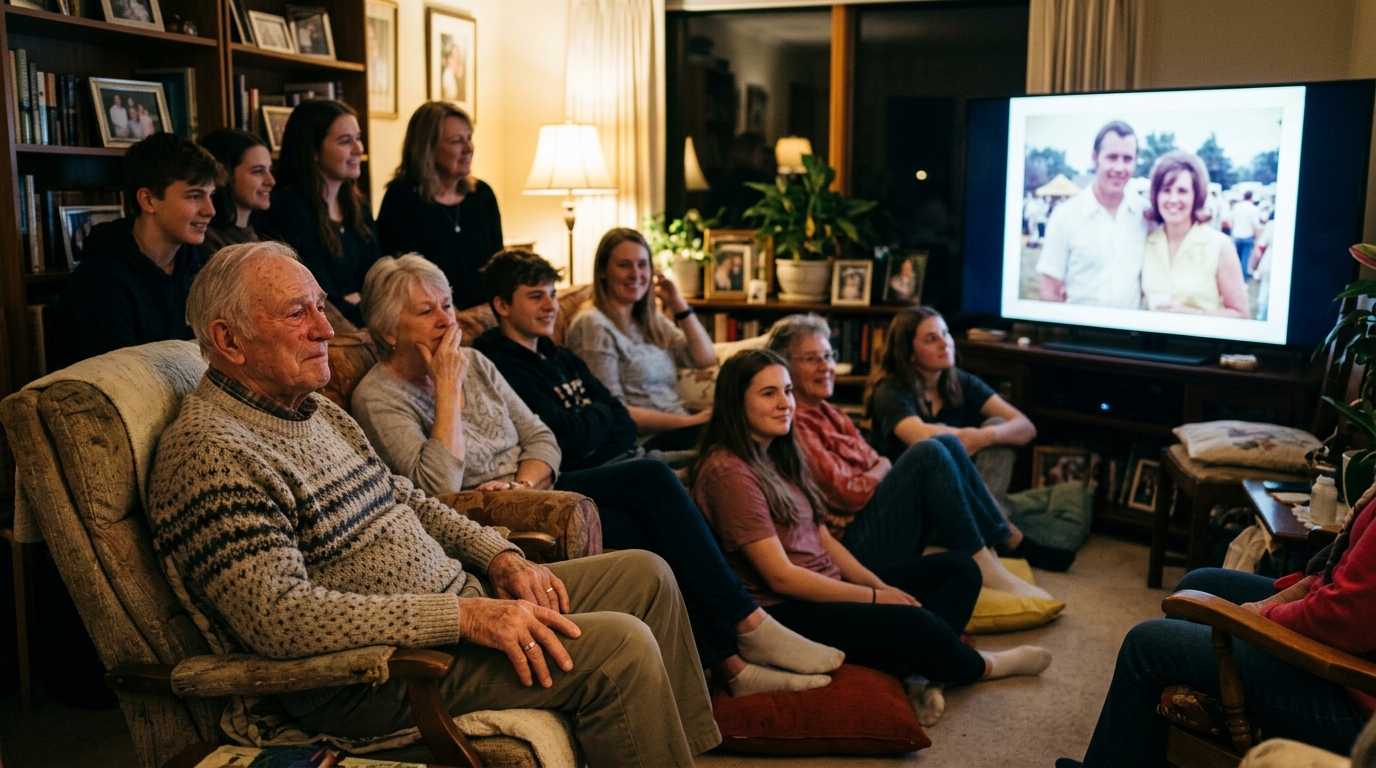
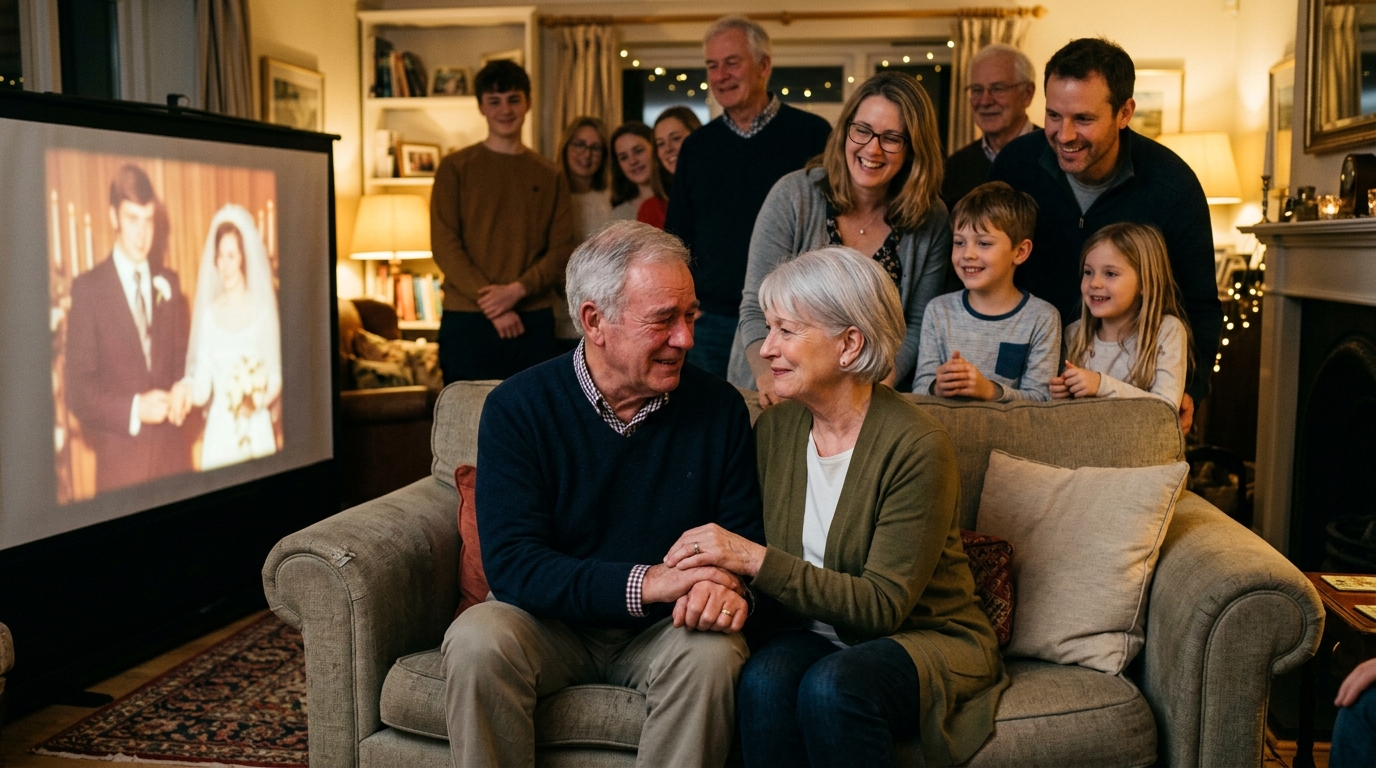
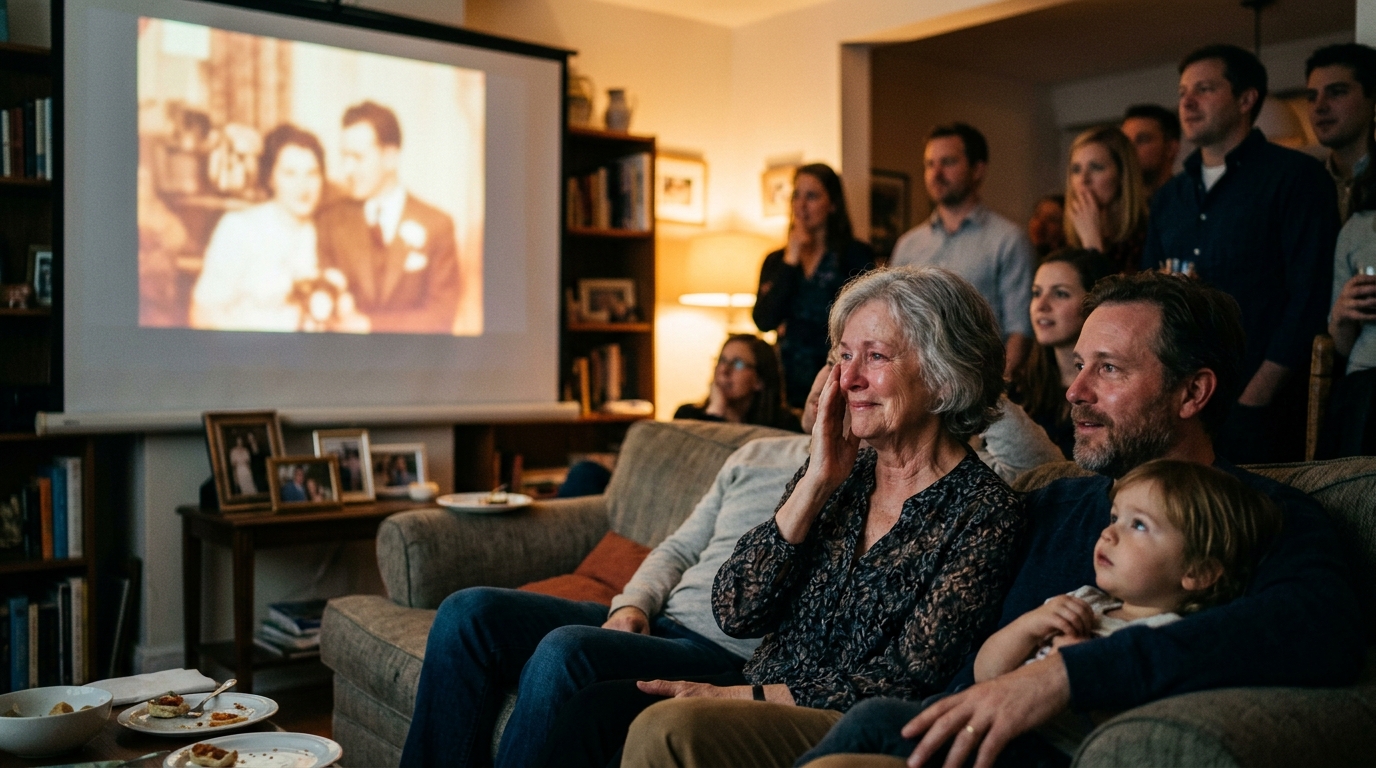
When gathering media for an event like an anniversary or a tribute, follow our guide on choosing photos and videos so you can tell a focused story rather than overwhelming the audience. Seeing a grandparent's wedding portrait restored to color on a large screen during a toast is an experience everyone in the room remembers.
Whether you use automated software for an entire shoebox or paint a single favorite portrait by hand, bringing color back to your family photos lets you see the people you love as they truly lived.
Questions
Can you colorize a black and white photo without damaging the original print?
Yes, because you should always colorize a digital scan rather than the original physical print. Keep your original photograph safe in an archival sleeve, scan it at high resolution, and apply color using digital software on your computer.
Are the colors generated by automated software historically accurate?
Automated tools make educated guesses based on common patterns like blue skies and green leaves, but they cannot know the exact color of clothing or eyes. The colors look natural and convincing, but they should be viewed as an artistic interpretation rather than documentary proof.
Should I repair scratches before or after coloring a photo?
Always repair scratches, stains, and dust before you apply color. Coloring software often mistakes surface blemishes for real objects, which can create odd colored splotches and uneven skin tones across the image.
Written by
Dan Warner