How to remove scratches and dust from old film
Learn how to clean dust and grime from vintage reels using gentle archival methods, and how to treat persistent film scratches after scanning.
Dan Warner · 1 October 2026 · 6 min read
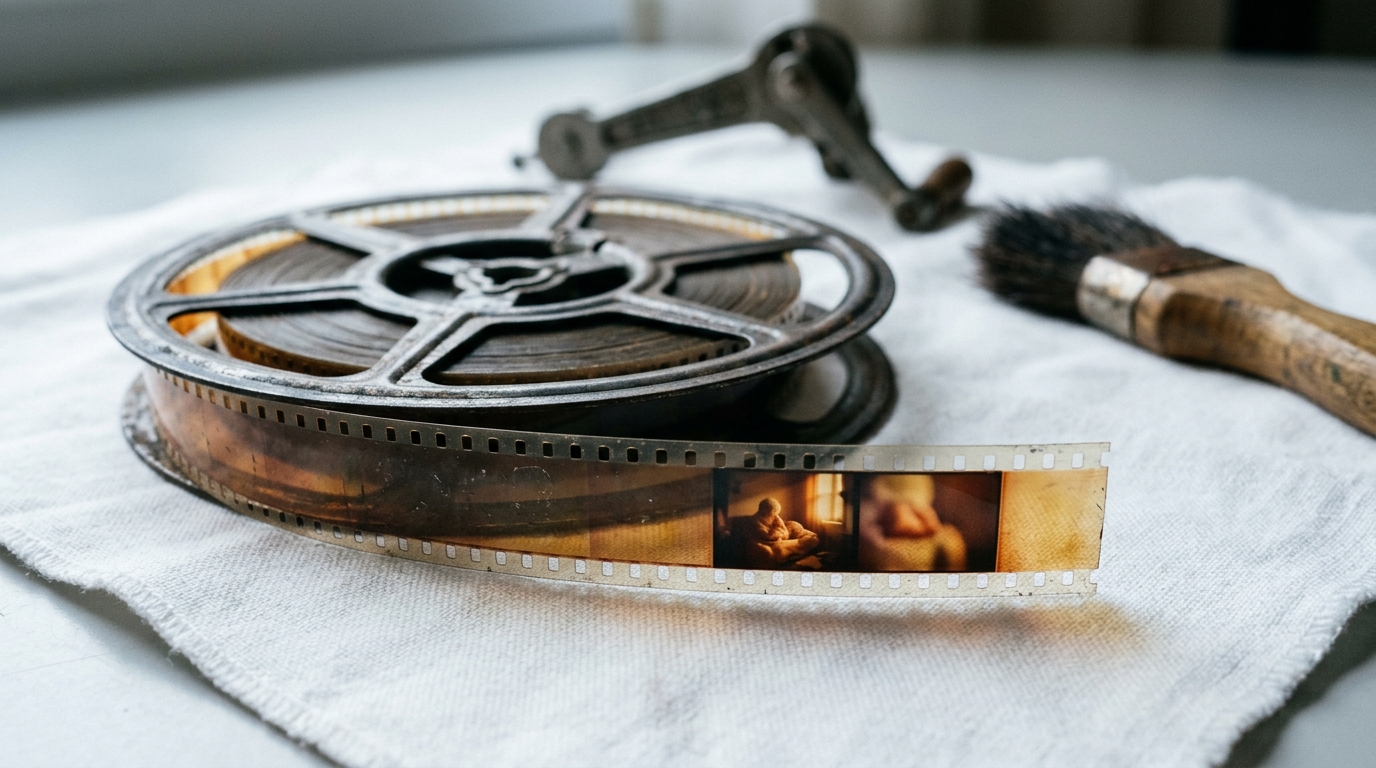
To remove scratches and dust from old film, you must treat the reel in two stages. First, gently clean off the loose dust and sticky oils by hand before the reel is digitized, using an anti-static brush and archival film cleaner. Second, repair the remaining permanent physical scratches on your computer after the footage has been converted into a digital file.
Skipping the physical cleaning means scanning decades of loose dirt straight into your digital video. Taking the time to clear away surface grime first ensures that when you do digital repairs, you are dealing only with actual scratches in the emulsion, not loose dust that could have been wiped away.
Why old reels collect dirt and wear
Old home movie film is made of a flexible plastic base coated with a delicate chemical emulsion layer. Over decades spent in basements, attics, or metal tins, reels collect a surprising amount of debris. Cardboard storage boxes shed microscopic paper fibers. Rust flakes off old metal canisters. Every time a reel passed through an old home projector, the friction generated static electricity that pulled floating dust and pet hair directly against the plastic.
Before you begin cleaning, check what format you are holding. If you are unsure whether your reel is regular 8mm, Super 8, or 16mm, you can consult our guide on what kind of film is this. While the cleaning method remains the same across gauges, knowing the format helps you choose the correct reels and rewinds.
Every strip of film has two distinct sides. The base side is shiny, smooth plastic. The emulsion side is duller and contains the photographic chemistry holding the image. Surface dust settles on both sides. However, while a scratch on the shiny base can often be polished or softened, a deep scratch on the emulsion side physically removes the image chemistry itself.
Preparing a clean workspace
A clean environment prevents you from introducing new debris onto the reels while you work. Choose a flat, sturdy table in a room away from pets, open windows, or kitchen drafts.
- Wipe the table surface clean and lay down a lint-free white cotton cloth or a microfiber work mat. The white background protects the film if it unspools and helps you see loose debris.
- Wash your hands thoroughly with soap and water to strip natural skin oils, then dry them completely.
- Put on a pair of clean white cotton inspection gloves. Bare fingers leave oily prints that attract dust and can degrade the emulsion over time.
- Set up an angled desk lamp over your work area. Directional side light illuminates dust specs and surface scratches clearly across the celluloid.

The dry pass for loose dust
Always start with a dry cleaning pass. You want to lift loose dust, hair, and dry debris off the strip before applying any liquid. If you use a wet wipe on heavy loose grit, you risk dragging those hard particles along the film, gouging new lines into the frame.
For this step, use a specialized camel-hair or goat-hair anti-static film brush. These brushes discharge the static electricity holding dust particles against the celluloid surface.
Mount the original reel on a manual rewind spindle on your left and place an empty take-up reel on your right. Pull the film leader gently across to the take-up reel. Hold the soft bristles of the anti-static brush lightly across both sides of the film strip as you crank the take-up reel slowly forward.
Work at a steady, gentle pace. Never yank the strip. If the film sits loose on the reel, resist the urge to pull the end of the film to cinch the spool tight. Cinching causes adjacent layers to slide directly against each other, grinding trapped dirt into the delicate emulsion and creating long scratches called cinching marks. Let the brush glide softly, and pause occasionally to shake out any accumulated dust from the bristles.
The wet pass for stubborn oils
Once the loose grit is gone, you can remove sticky residue, dried projector oils, and fingerprint smudges. Ordinary water, rubbing alcohol, or household cleaning sprays will ruin film emulsion. You need an archival film cleaner formulated specifically for motion picture film, such as PEC-12, along with lint-free wipes.
Fold a lint-free wipe into a small pad. Add three or four drops of film cleaner to the pad. The wipe should be slightly damp, never soaked or dripping. Fold the damp pad gently over the film strip, sandwiching both the shiny base and the dull emulsion side between the fabric.
With one hand, hold the pad in place with light, even pressure. With your other hand, slowly crank the film onto the take-up reel. Do not scrub or press hard. You are allowing the solvent to dissolve surface grime while the cloth lifts it away. If you encounter an old tape splice that feels thick or catches on the cloth, ease past it slowly.
After passing a few feet through the cloth, inspect the pad. You will likely see yellow or dark brown streaks of old projector oil and residue. Fold the cloth to a clean section, apply a few more drops of cleaner, and continue until the whole reel has passed through. Archival solvents evaporate very quickly, but always work in a well-ventilated room.
Scanning and managing physical scratches
Once your film is clean, it is ready for scanning. For practical advice on moving from physical reels to digital files, explore our guide on how to digitize Super 8 film.
When you view the raw digital scan, you will notice a huge improvement. The fuzzy dust halos, hairs, and dark oil spots will be gone. However, physical scratches caused by old projectors years ago will still be visible as thin, bright vertical lines that flicker across the footage.
To address these remaining lines, you work digitally:
- Spot repair tools: Modern video editing software includes temporal repair tools. The software examines the frames immediately before and after a scratched frame, using matching details from neighboring frames to fill in the missing line.
- Target the worst moments: Applying a strong automated scratch filter across an entire movie can soften faces and erase intentional details like wires or background fences. Instead, note the timestamps of the most distracting scratches and apply repairs only to those scenes.
- Wet-gate scanning: If a reel has heavy scratches across the shiny base side, specialized labs can run the reel through a wet-gate scanner. The film passes through an optical fluid with the same refractive index as the plastic base, which temporarily fills in base scratches so the light passes straight through during scanning.
If you want to turn digitized family footage and old pictures into a finished piece for a special event, Linof repairs old photos, brings their color back, and animates them into short moving shots set to music, with your first photo animation free.
Preserving the original scan
A physical scratch means the original picture chemistry was scraped off the film reel decades ago. When digital software removes that scratch, it generates a plausible replacement based on surrounding pixels. It produces a clear, beautiful viewing experience, but it is an approximation of the lost moment.
Because of this, always keep your original, unedited digital scan as an archive. Store the raw file alongside your cleaned digital copy. That raw scan remains the authentic historical record of your family, while the cleaned, scratch-repaired version is the one everyone can gather to enjoy on the screen.
Questions
Can I use rubbing alcohol to clean old movie film?
No, you should never use rubbing alcohol or water on vintage movie film. Rubbing alcohol contains water and harsh solvents that can soften or dissolve the delicate photographic emulsion, stripping the picture away entirely. Always use an archival film cleaner formulated specifically for motion picture celluloid.
What causes the long vertical lines running down old home movies?
Those vertical lines are physical scratches caused by dirty projectors in the past. When dust or metal burrs caught inside the projector gate during playback, they carved a continuous groove into the film as it pulled through. Because the emulsion was physically scraped off, these lines remain until they are repaired with digital software.
Can I blow dust off old film with a can of compressed air?
You should avoid canned compressed air because the propellants inside spray out at freezing temperatures. If that freezing blast hits fragile, decades-old emulsion, it can cause the chemical layer to crack or flake off the plastic base. A soft anti-static camel-hair brush is a much safer way to clear loose dust.
Written by
Dan Warner